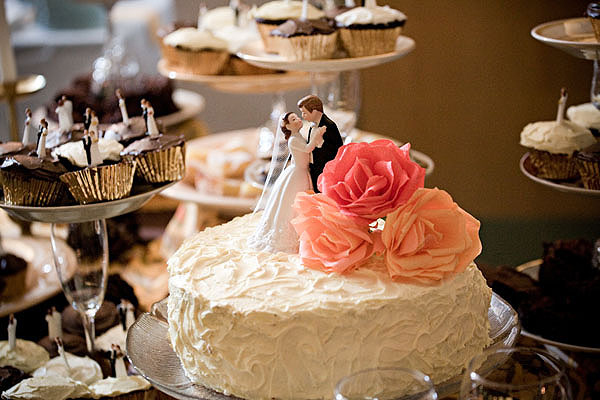
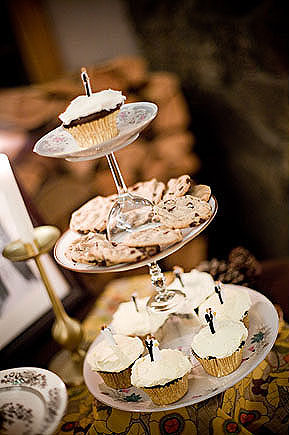
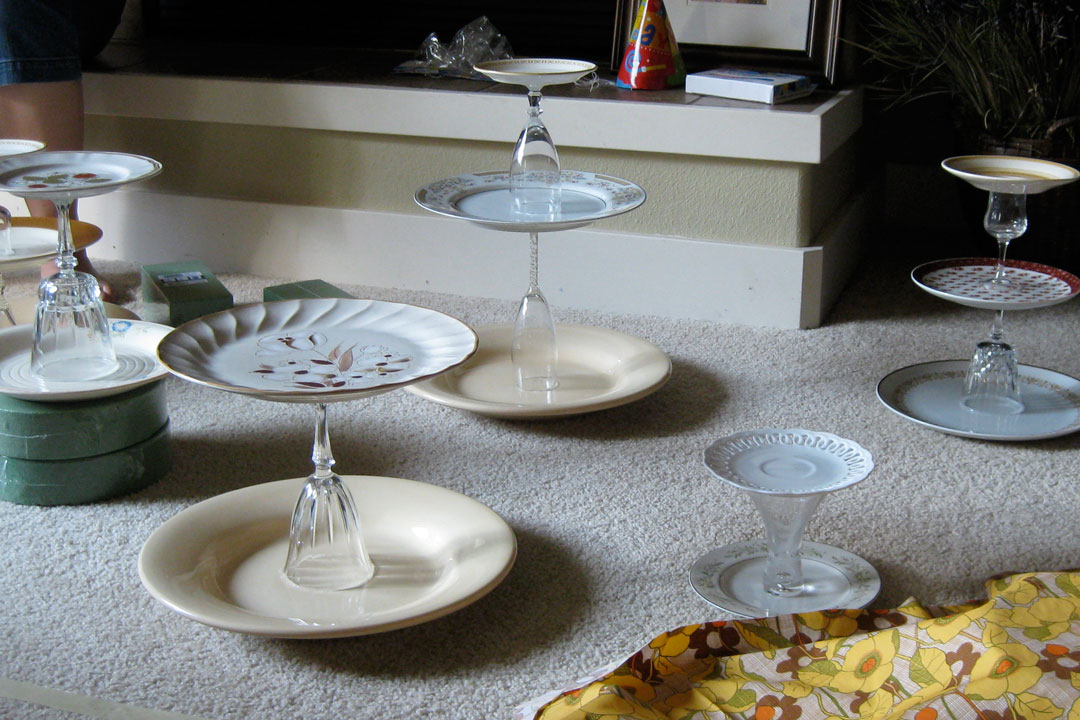
I love this idea! Nicole created her own tiered dessert trays using thrifted plates and glasses. They became the highlight of her dessert display!
Best of all? These are easy AND budget-friendly!
Instructions:
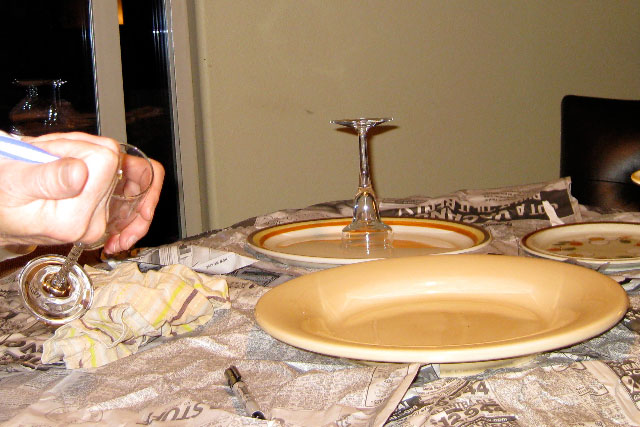
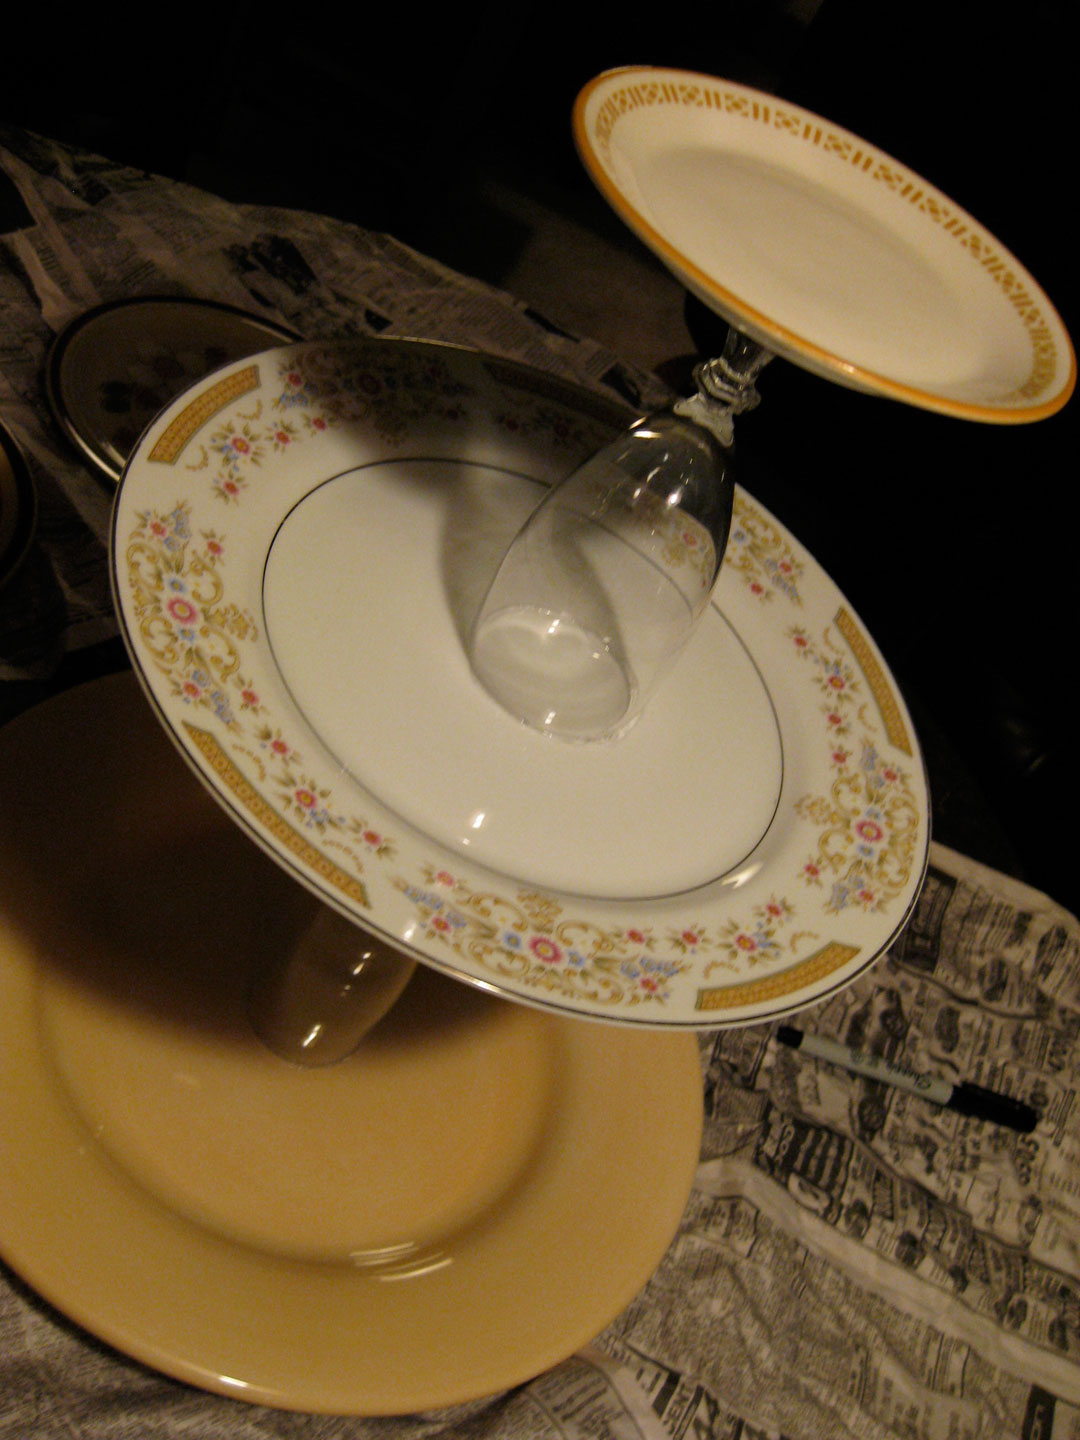
1. Buy plates you like. I usually make three tiered, but for variety on a whole table of them it is good to do different heights – two tiers, three tiers or even just one (I did this to make a cake stand – using a platter and a champagne glass). Keep in mind you can just kind of like the plates – they are mostly covered up!
2. Buy glasses or candle sticks to place between the tiers. There are NO rules – buy what you like and it will look good together.
3. Wash and dry everything throughly.
4. Glue it all together. The best glue I’ve found to use is plumbers goop. Just place a small amount on the glass where it will touch each plate and hold it in place for a few seconds.
5. Admire your handiwork! These dry overnight so be careful with them until you are certain enough time has passed. After the wedding you can use them as fruit stands and give them away as gifts.

