


Right after my husband and I became engaged, we sat down together to think about our wedding — how we wanted it to feel, whether it would be formal or informal, inside or outside, etc. As I mentioned yesterday, I felt very strongly about having a Spring wedding, and my husband and I both knew that we wanted to have an informal wedding that took place entirely outdoors. We also sat down to discuss our priorities for the wedding. My father is semi-retired and my husband’s parents live on a single income, so we knew that we would have to keep our wedding budget relatively small — not the easiest thing to do in the metropolitan DC area, where wedding budgets can easily soar in to the $20,000 – $30,000 range or higher – and decided to focus the bulk of our budget on a few main priorities. We decided on photography, catering and the venue as the highest priorities, with our middle priorities on décor and flowers, followed by everything else.
And when it came to “everything else” — we were pretty open to ideas. I spent the first couple of months, in our inspiration gathering phase, going through back issues of Martha Stewart Weddings and reading wedding blogs for inspiration. Like most other brides, I put together a notebook with clippings of my favorite ideas and an inspiration board to help define the feel of our wedding:
As I hope you can see from our board, we settled on a vintage-inspired garden wedding, but one that also reflected our shared love of international affairs. As I mentioned in my last post, we envisioned our wedding reception to be like a big dinner party with family and friends. To keep things informal, and within our budget, we kept our guest list small — only inviting about 75 people (including some friends overseas and older family members who we knew wouldn’t be able to make it) and ended up with a final guest list of 50.
While we began the search for our venue, photographer, and caterer, I started to compile a list of DIY projects for our wedding, based largely on the clippings and blog posts that I’d pulled as inspiration. We decided to go the DIY route for much of our wedding both to stay within our budget and to put our own personal spin on things. In deciding on which ideas to include in our wedding, we focused on projects that fit with our vintage-inspired theme (which required us to edit out some ideas in order to maintain a cohesive vision), reflected our shared interest in international affairs, helped tie together the various elements of our wedding, and made our guests feel more involved in the wedding itself. A final tally of our projects included our ceremony programs, custom table runners, and polaroid guest book, among others.
Our first DIY project was our Save the Dates, inspired by an idea that we saw in Martha Stewart Weddings a few years ago:
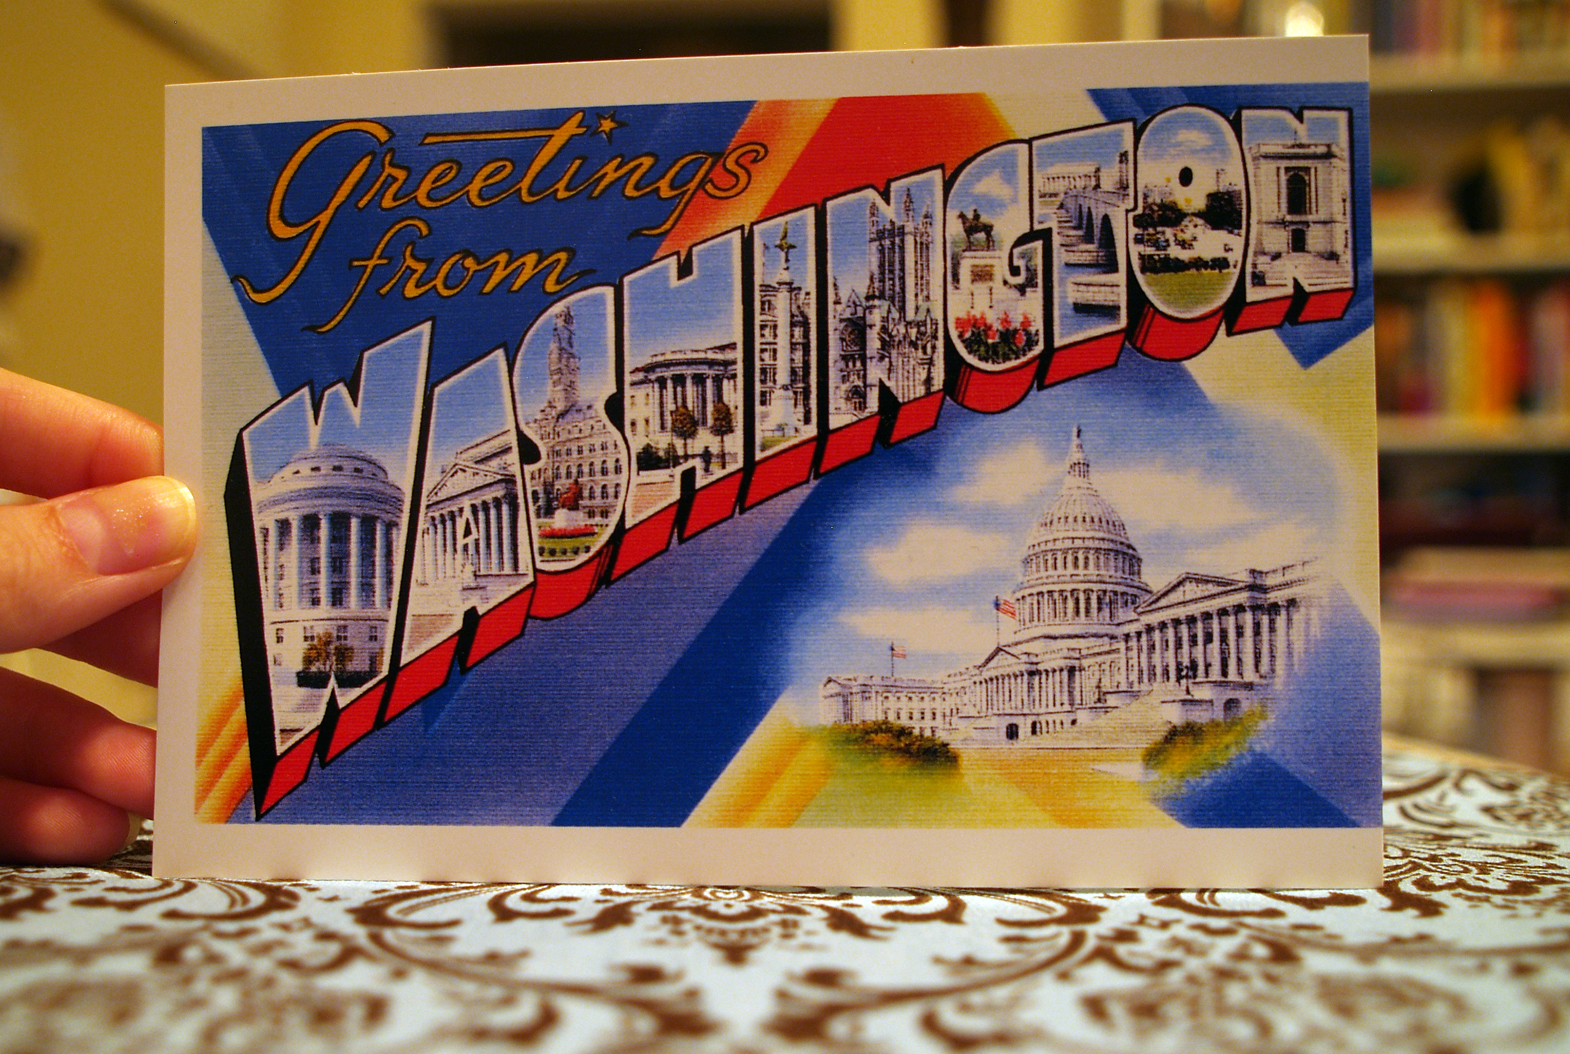
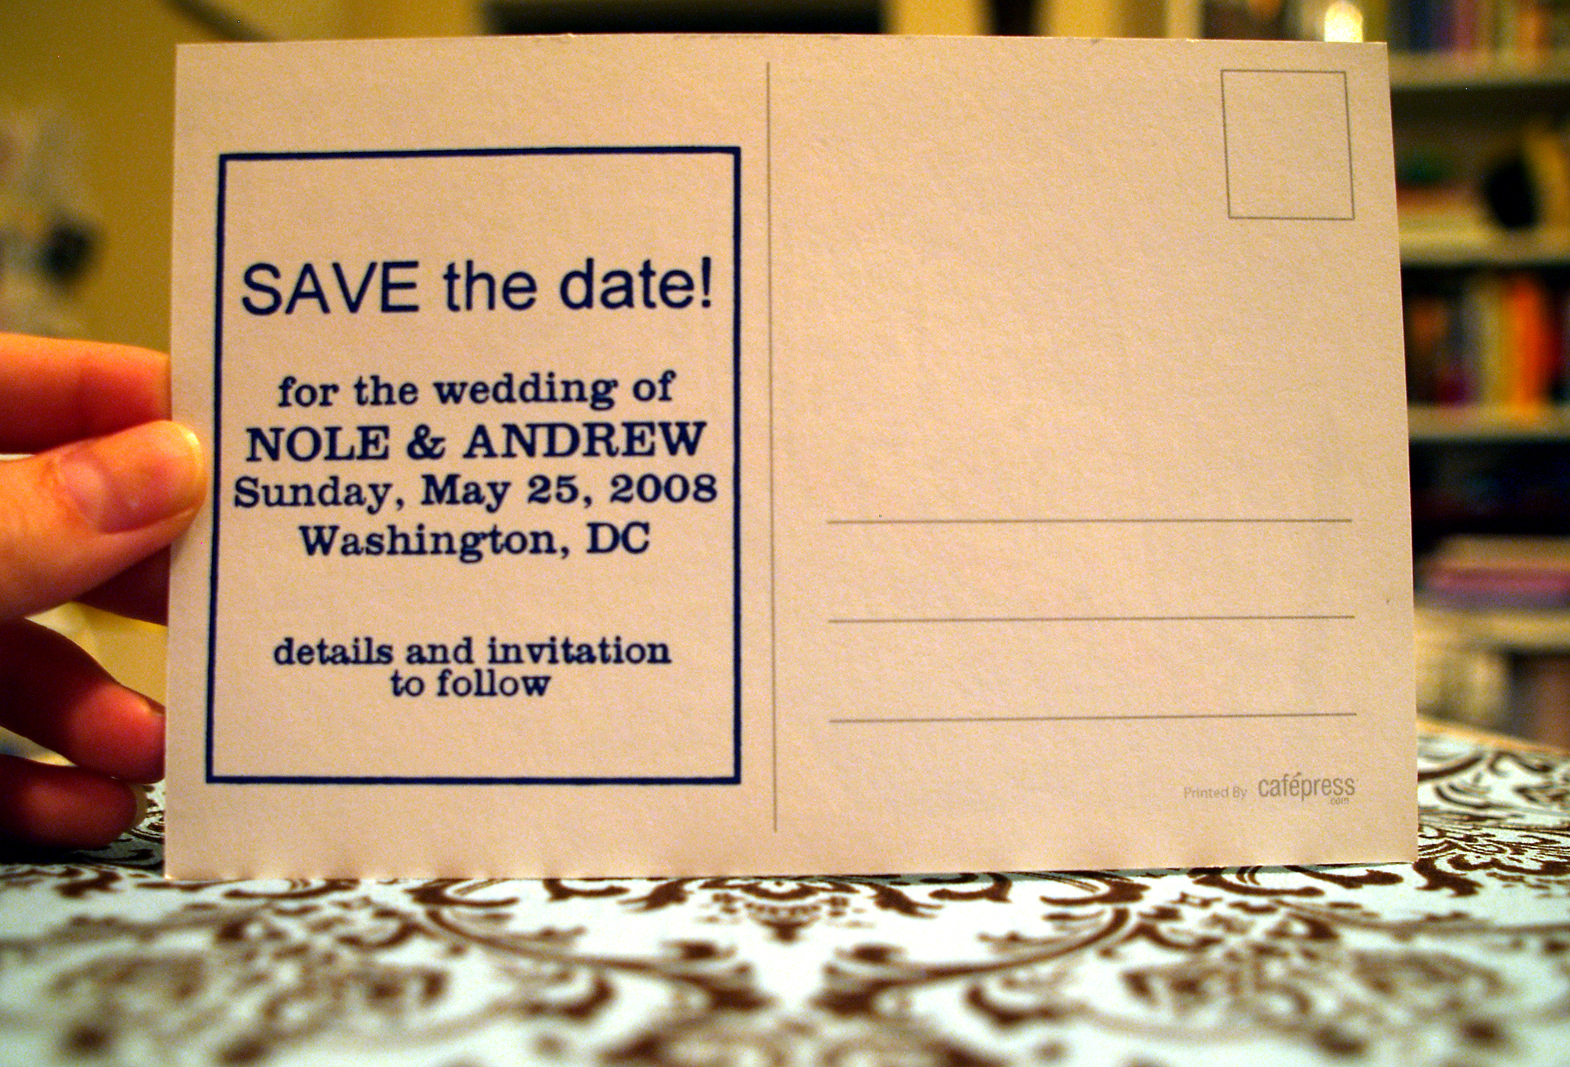
{photos by me}
We found the vintage-reproduction DC postcards from Cafe Press and ordered a custom 2″ x 2 1/2″ stamp (which we found works best for a 4 x 6 inch postcard) online from Simon Stamps with our information, and got stamping! This was a really easy and affordable project, but still gave our guests a taste of what to expect for the wedding itself.
Our next DIY project involved table runners for the reception. Since we planned to use long tables lined up end-to-end for family-style seating, we wanted to use table runners as a way of adding some fun pattern to the reception decor. Since we coudn’t afford the expense of renting table runners, we decided to make our own!
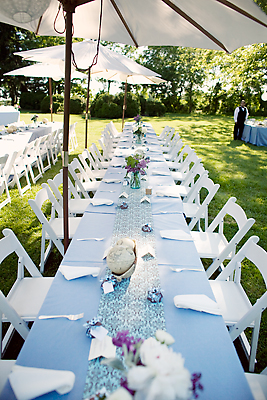
{photo by Punam Bean}
We used a blue and brown damask pattern fabric from buyfabrics.com, which comes in bolts 54″ wide. I made table runners for both our guest tables (which were 28′ in total length, comprised of a mix of 8′ and 6′ tables lined up end-to-end) and for the shorter (6′) tables where our food, cakes, and drinks were set out. Based on our caterer’s advice, and using this post on Weddingbee as a tutorial, I made one long table runner each for the guest tables to ensure a smooth and continuous look. I then used our leftover fabric to make shorter runners, just over 6′ long, for each of the non-guest-tables. Since our tables were a standard 30″ wide, we made our runners approximately 10-11″ wide to leave enough room for plates, glassware, napkins, etc. By DIYing our runners, not only did we stay within our budget, but we’ve already been able to use them again!
Up next… more DIY projects!