


It’s been a busy week. I got my dream job offer, flew to DC, found an apartment, and have packed 7 fridge-sized boxes since yesterday in preparation for my big move to DC this weekend. Although this means my fiance and I will continue our long-distance relationship for another 6 months or so before we re-evaluate our next move, NYC (where he lives) is a lot closer to DC than Africa was (where I was living last year).
The best part about visiting D.C. last week was meeting with my good friend Kate from grad school. She is the one friend I have that is engaged at the same time as I am and I seriously don’t know what I would do with out her. She is the only one who physically can listen to me talk about wedding details for HOURS upon end with feedback after every sentence. My mother has actually forced me to call Kate when she can no longer stand my endless analysis. I hope you all have a friend like her too!
Anyway, Kate is an extremely creative, cool and classy gal whose most recent wedding DIY project I am planning on stealing is inspiring me to do something similar. I’ve asked her to share with us her homemade SAVE THE DATES inspired by her venue.
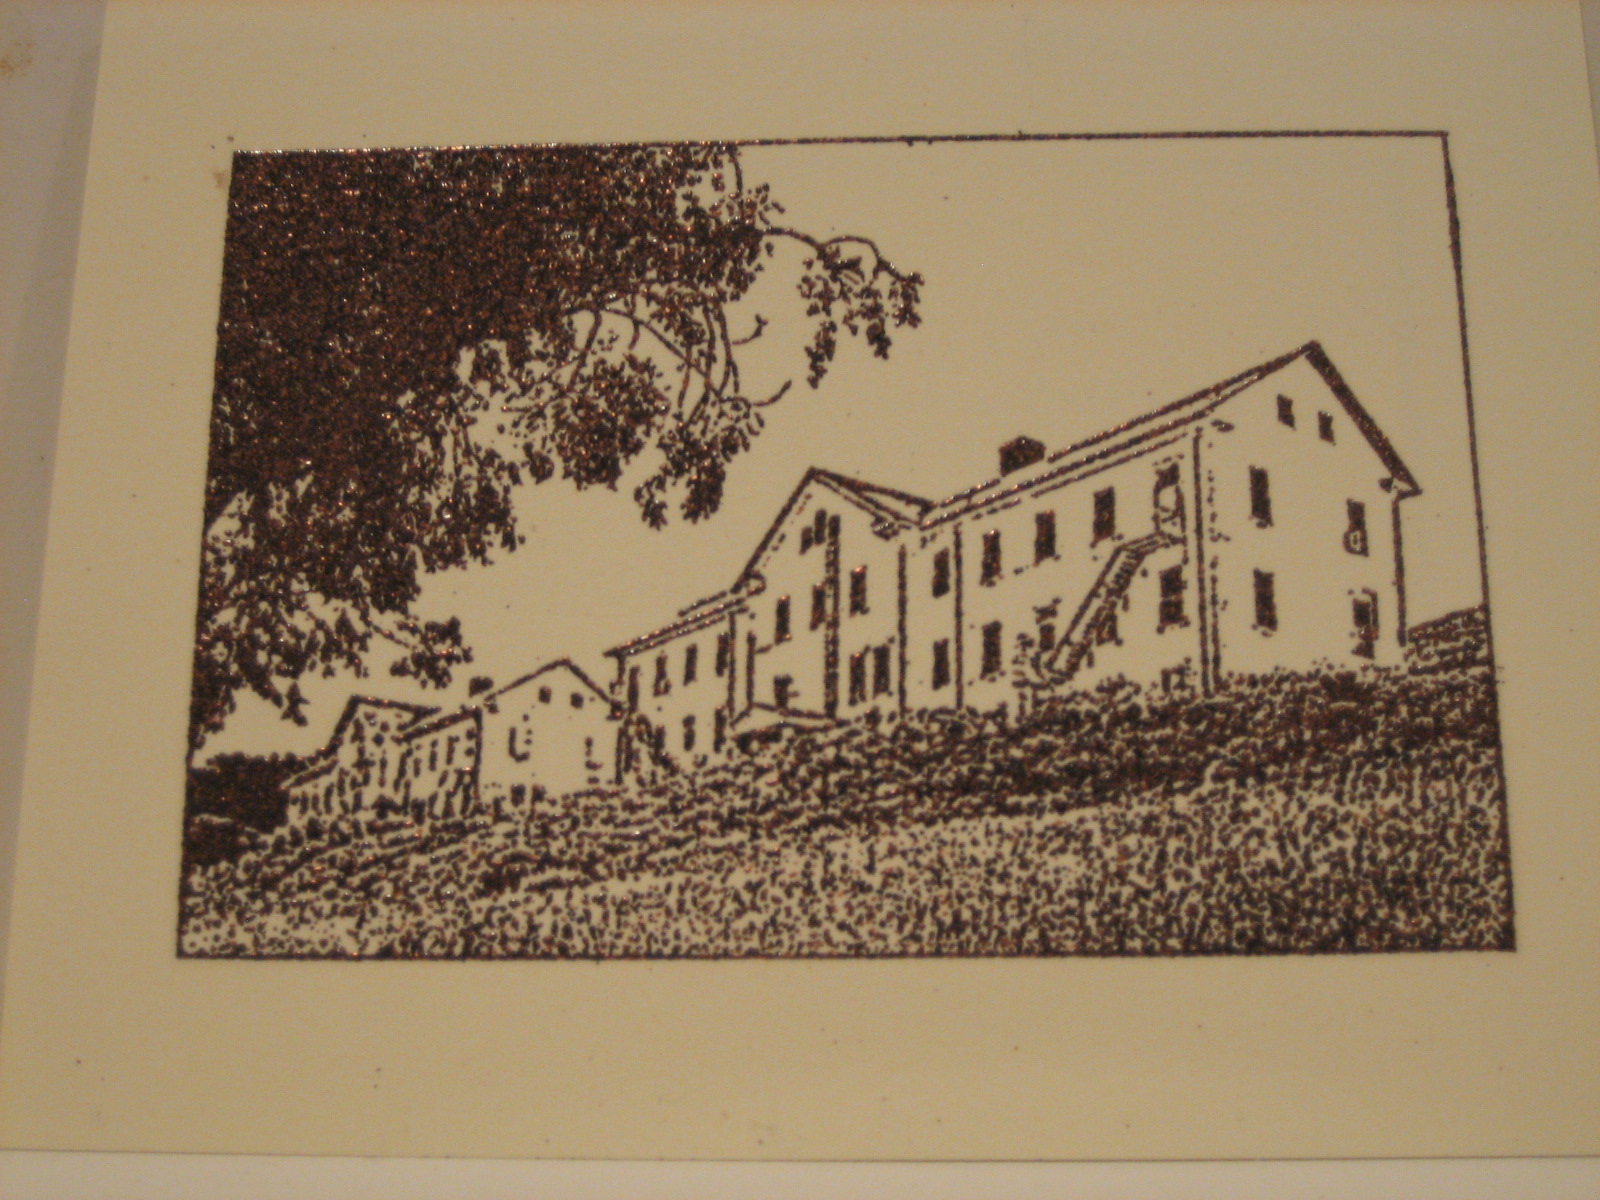
She, like me, is in love with her wedding reception venue, hers being at the Headlands Center for the Arts, old army barracks in Marin County near San Francisco pictured below.

She asked the on-site wedding coordinator to send her a high resolution image of the venue to use as a stamp for her Save-the-Dates. The results are oh so classy, cool and personal.
Not only does Kate regularly help me with wedding planning but she saved me this week with my blog post, since I am in the middle of a big move, and generously shared all the details of her DIY Save-the-Date cards with me to share with you. Enjoy.
Kate:
The Headlands Center for the Arts was the first wedding location that my fiance and I looked at and from the moment we saw the building we knew this was the place. Growing up in the San Francisco Bay Area, we both loved the military buildings that dot the Presidio, so when we saw HCA at Fort Barry it seemed perfect. Converted from an early 1900’s military building, the Center hosts artists in residence six days a week. On Saturdays the Center is open for weddings with the proceeds going to help the art programs (which we thought was fantastic).
I was inspired by the look of the building and hoped to use it somehow in our invitations. When I saw this DIY project I came up with the idea of doing a stamp the size of a postcard for our Save-the-Dates. I contacted Picture My Stamp and easily had a stamp produced from a high resolution photo of the building.
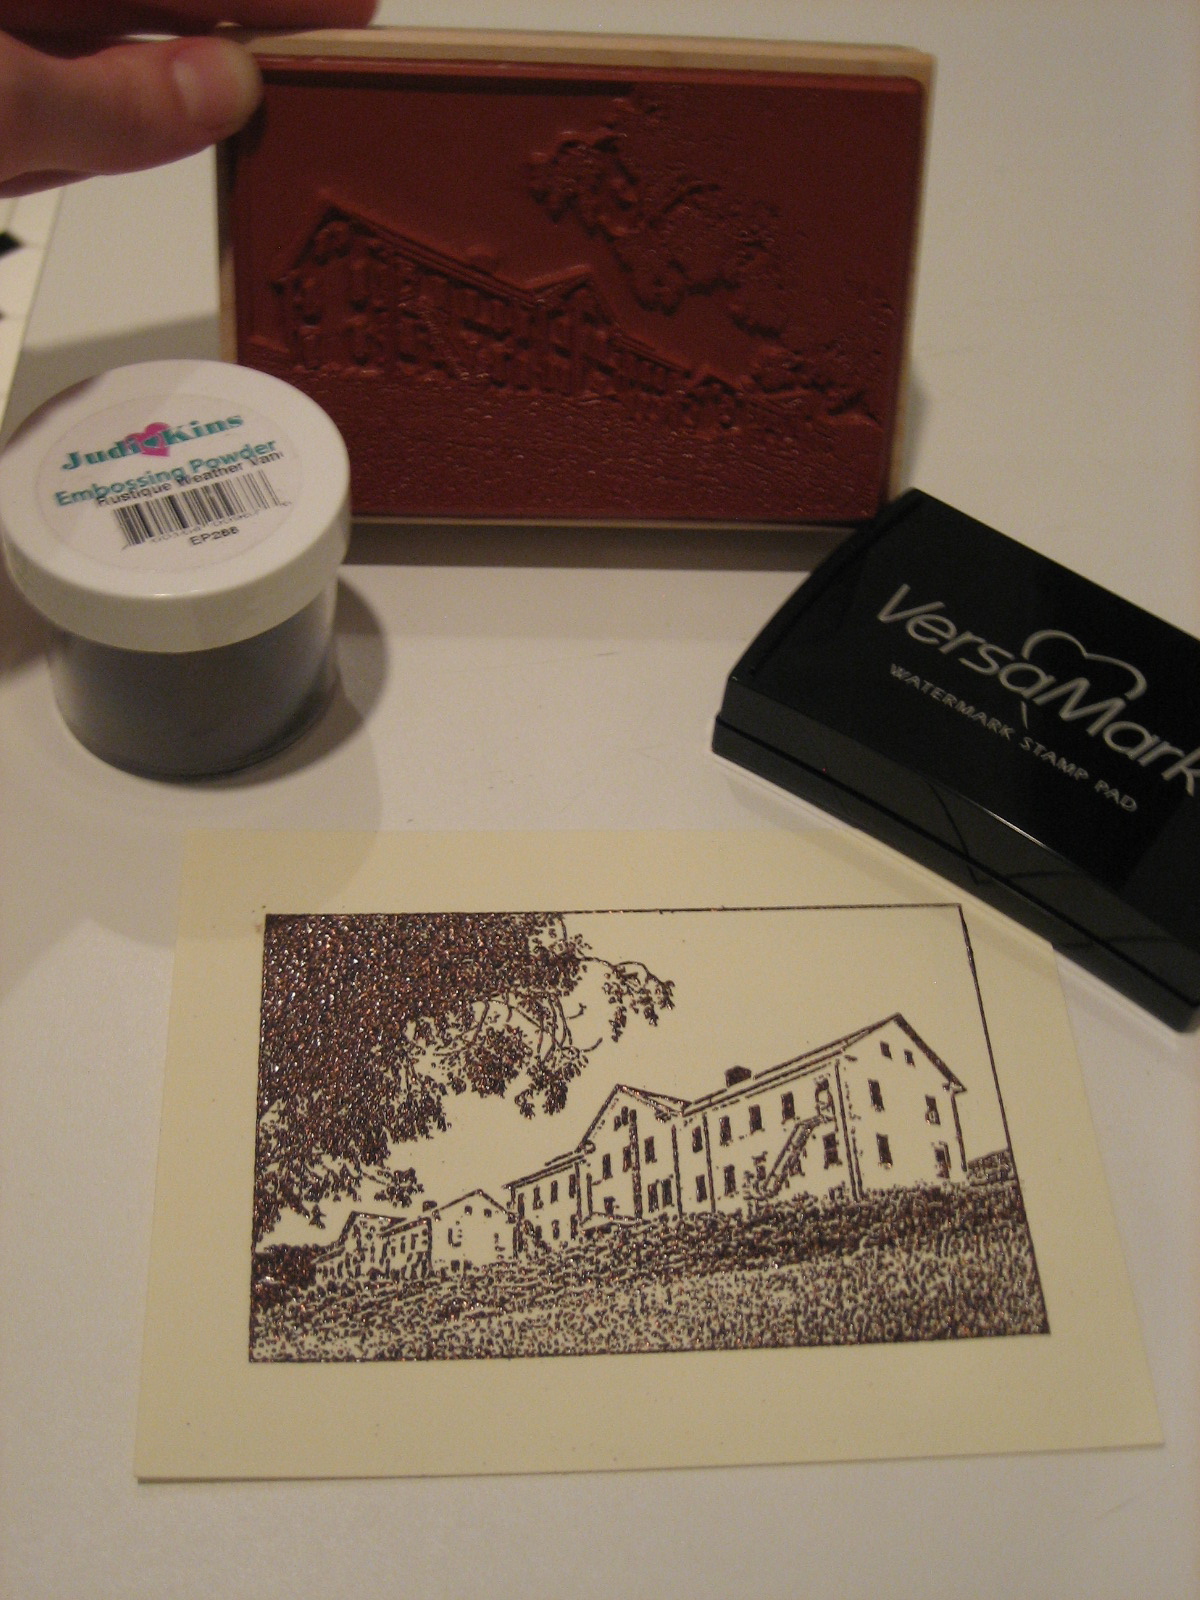
When I visited Paper Source, I came up with the idea of using embossing powder to give the stamped image extra oomph. It was easy enough to complete the project once I had all the materials together.
Materials
stamp
embossing powder
VersaMark Watermark ink pad
embossing powder heating tool
cardstock (we used PS A2 flat cards in soft white)
Step 1
I began by printing the basic information for our wedding on one side of the cardstock (I used my HP DeskJet printer and selected a dark brown ink that would coordinate with the bronze/black embossing powder we selected.
Step 2
Stamp the other side of the card using a versamark watermark ink pad.
Step 3
Sprinkle embossing powder over the entire surface of the card with the stamped image. I recommend using a decent amount to make sure enough powder sticks. Shake off the excess powder to reuse.
Step 4
Using a circular motion use the embossing powder heating tool to melt the powder. The staff at Paper Source can show you how to use the tool.
Step 5
Let the image cool. Some of my cards needed to be flattened after being exposed to the heat. I just stuck them in the back of a book and stacked other heavy items on top of it for a few hours.
I loved the end result and the embossing really gave it a finished look. We are actually doing thermography (the font is raised in a similar way to embossing) for our invites in a dark brown ink and creating a custom postage stamp using the same image of the building to tie it all together. Regardless of how you use the stamp, it’s a worth while investment and can be used for programs and thank you cards as well.
Thanks Kate!