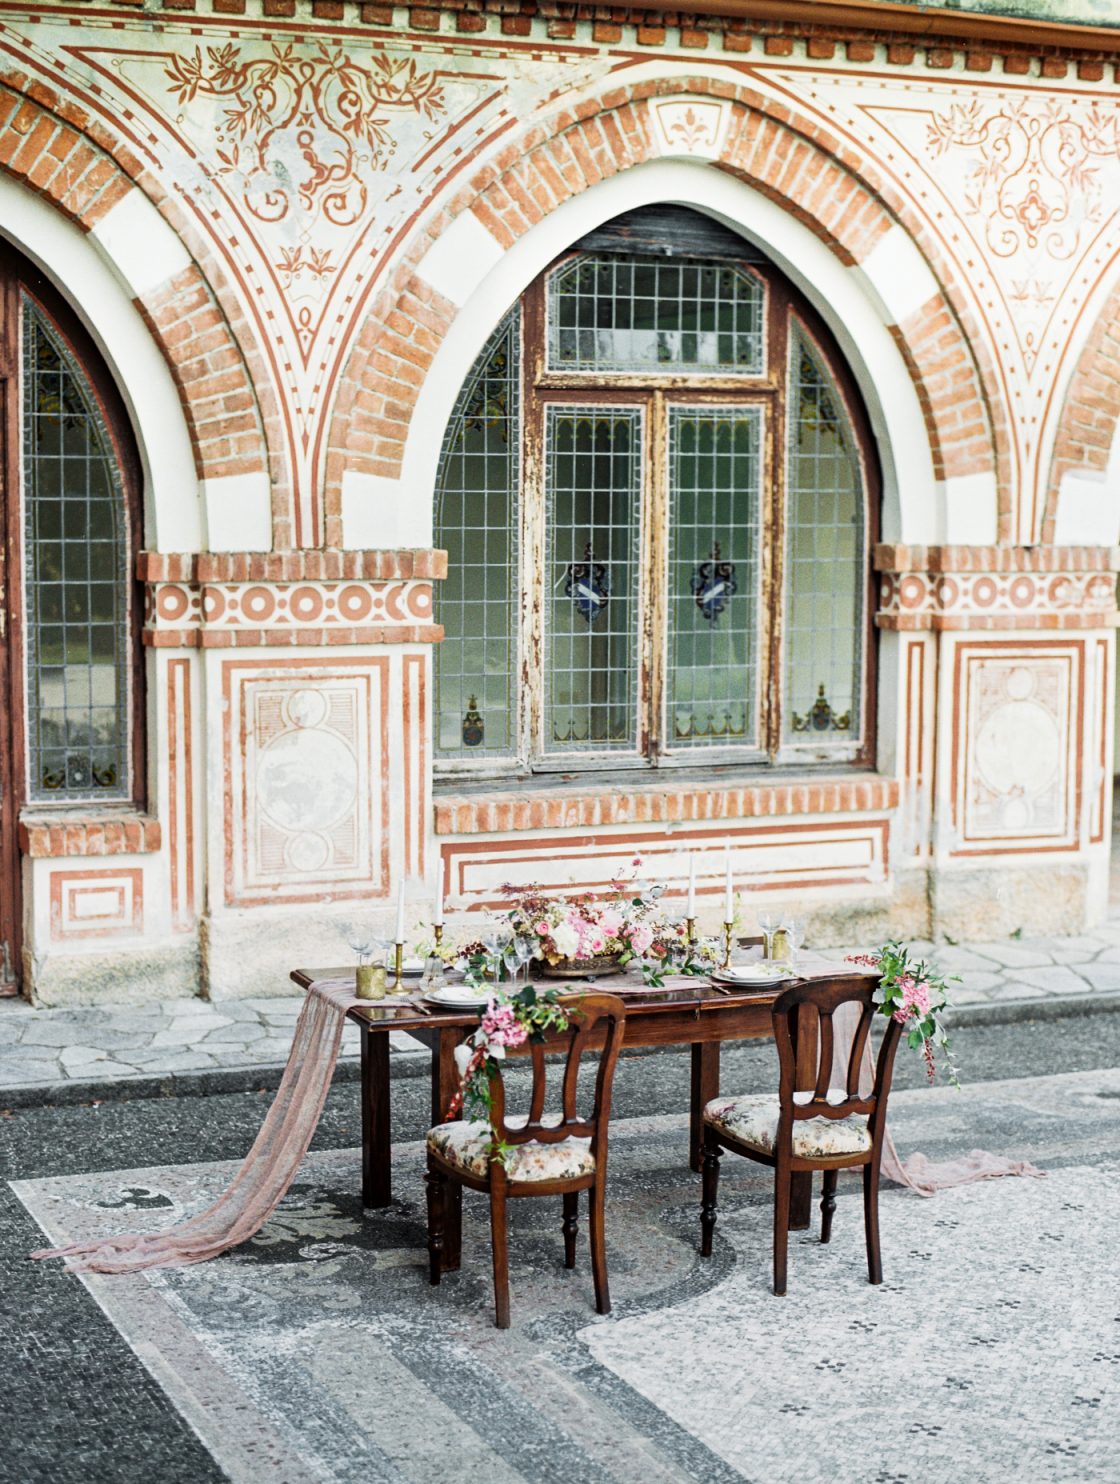
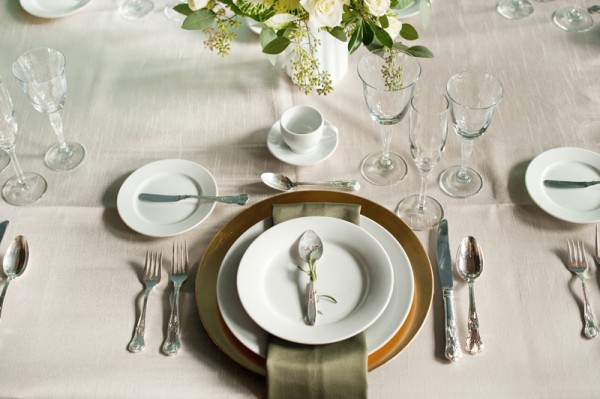
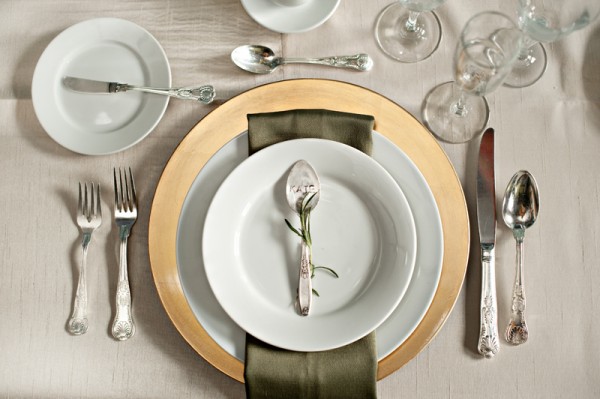
Hammered spoons are a beautiful addition to your wedding tabletop. Perfect for an elegant, rustic wedding, use them as favors, escort cards, or table numbers – the options are endless. I’m so happy to have McKenzie Brickl of La La Soiree and Kate Sommers of KNG Sommers Photography stop by EAD today to share a step-by-step tutorial for creating your own hammered spoon place cards, and you can see them in action on a lovely olive green and gold tabletop they created!
Scour local thrift stores, flea markets or yard sales for spoons and make sure that they are not stainless steel – look at the handle – which appears too shiny and is very difficult to pound out. Select pieces that are made of silver (you can tell because it does tarnish).
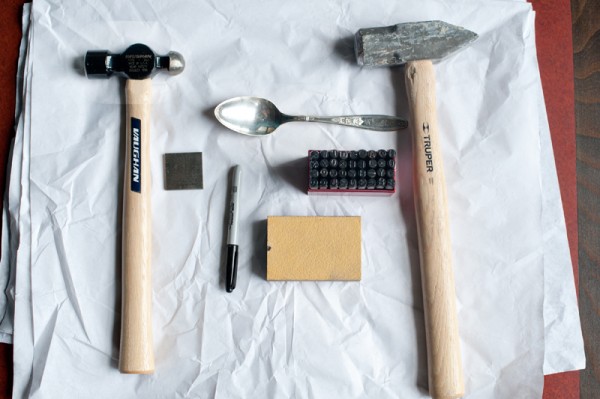
You will need:
- Safety goggles
- Ball peen hammer
- Small sledge hammer
- Bench block
- Metal stamp set (we used ¼ inch letters, and wouldn’t recommend going any smaller)
- Fine grit sand paper
- Sharpie
Instructions:
1) Begin by turning spoon upside down and, using sledge, pound down curved shape of spoon. Do not do this on your table or countertop, on tile or wood floors (cement or a work bench is perfect).
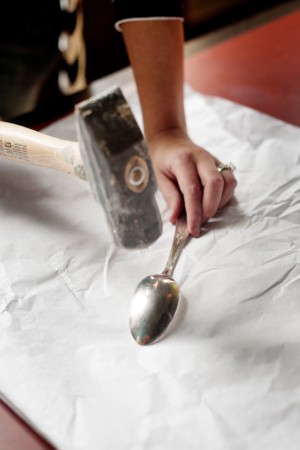
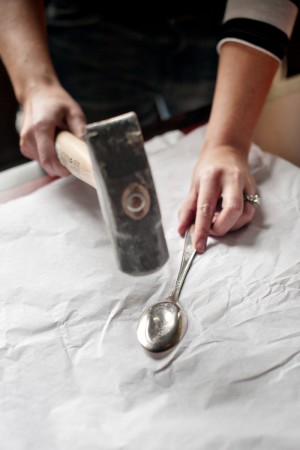
2) Flip over and pound down edges. Flip again and even out. Make sure to pay attention to the handle, so that you’re also straightening it out.
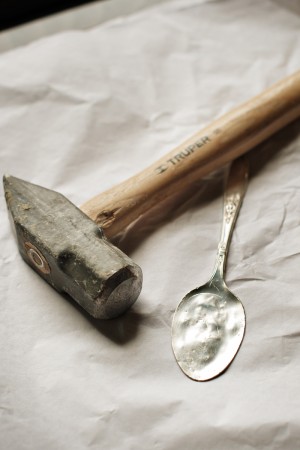
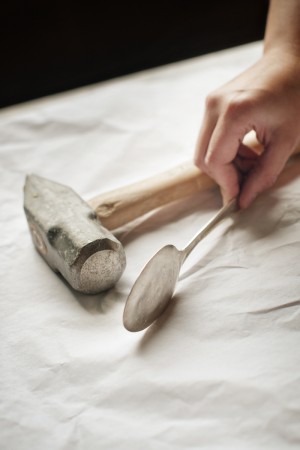
3) Once you’re happy with the flatness, place spoon onto bench block (or on same solid surface you used to sledge the utensil flat).
4) Using letter that falls in the middle of the name or word you’re using, align in center and hit (hard) 20 times with ball peen hammer. Check to confirm that you’re content with depth of imprint. If not, carefully realign and hammer another 10 times with a bit more force.
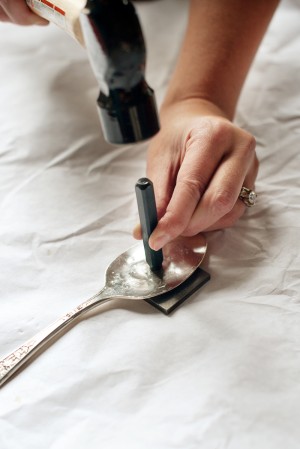
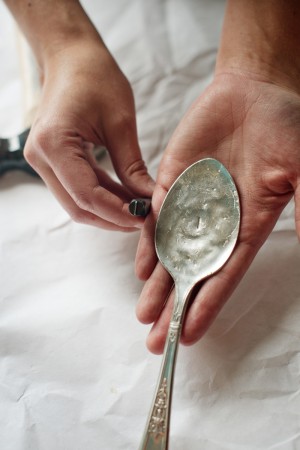
5) Continue with remaining letters (hit each letter stamp 20 times or more).
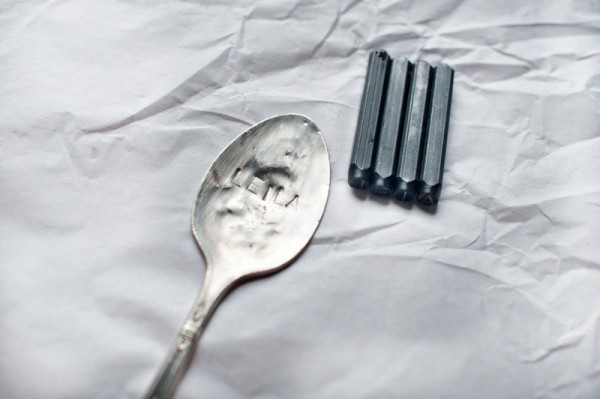
6) Fill letters in with Sharpie.
7) Using fine grit sandpaper, sand surface of letters to remove any Sharpie marks that are not in the imprinted area.
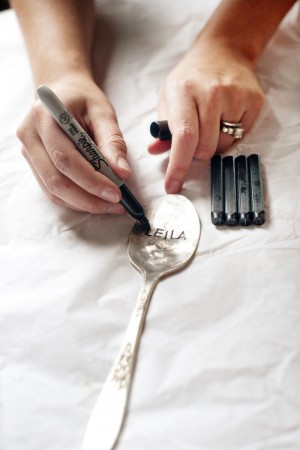
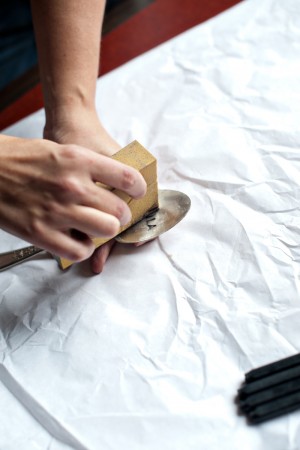
Voila! use spoons as place cards, table numbers, etc!
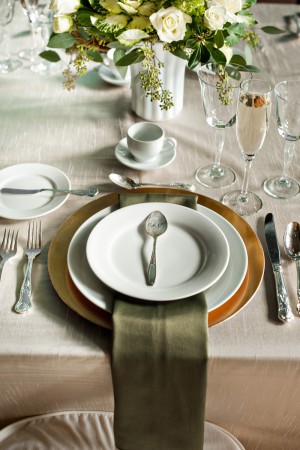
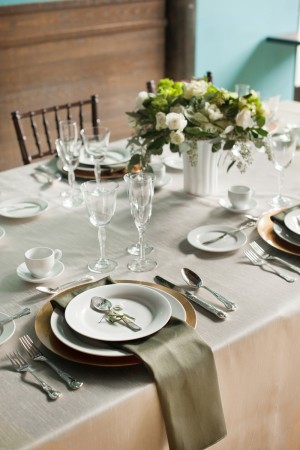
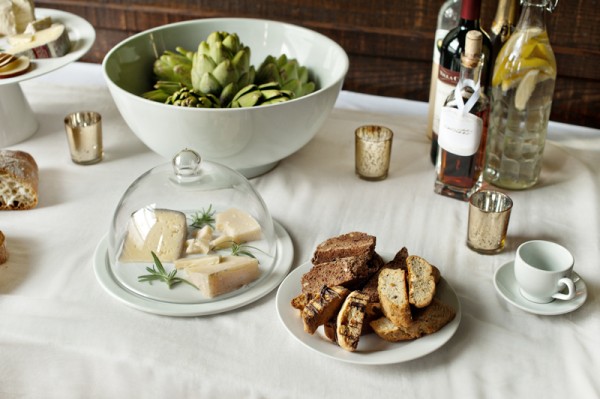
Thanks to these talented Minneapolis wedding vendors for sharing this DIY tutorial:
Styling – McKenzie Brickl of La La Soiree \ Photography – Kate Sommers of KNG Sommers Photography \ Floral – Indulge and Bloom \ Linens and rentals – Apres \ Venue – Pizza Luce \ Cheeses – Kowalski’s Market

