


-
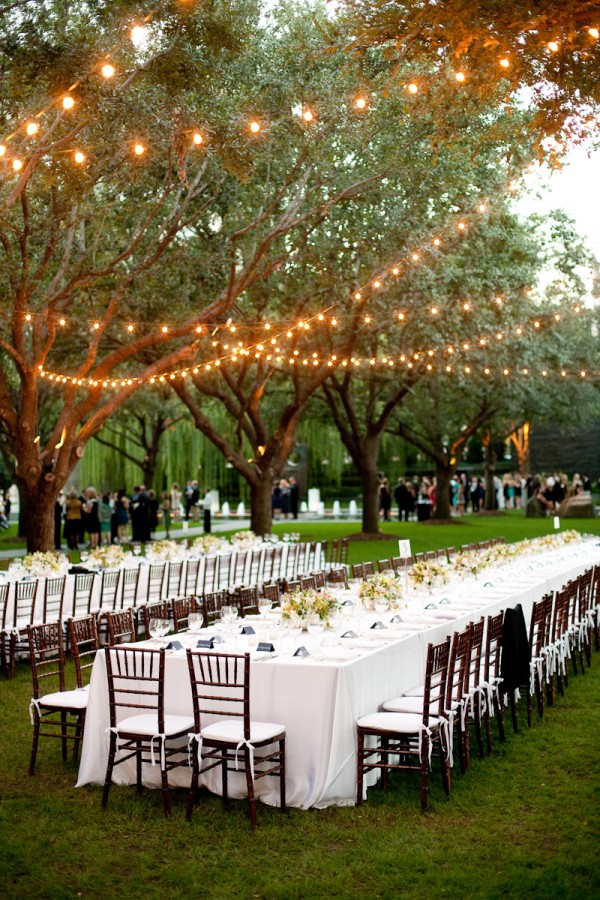
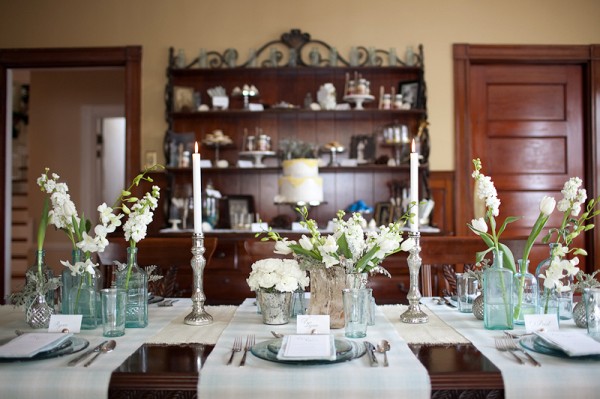
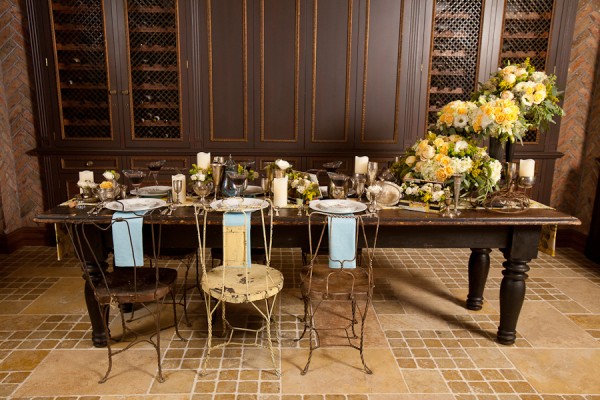
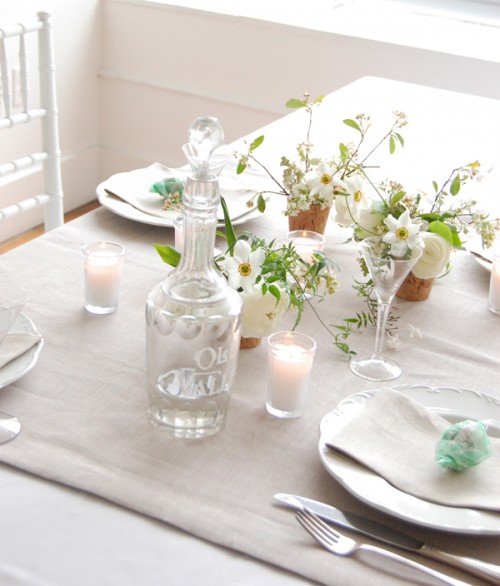
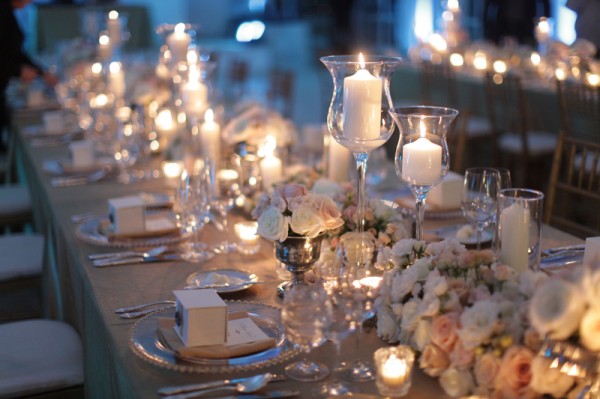
Friday Flowers: Estate Tables
-
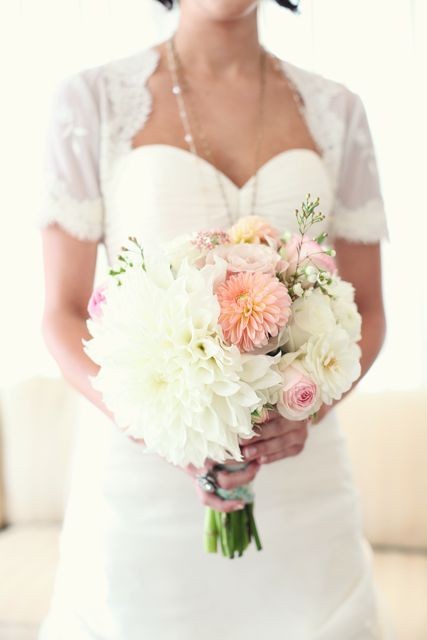
Sherbet Florals
-
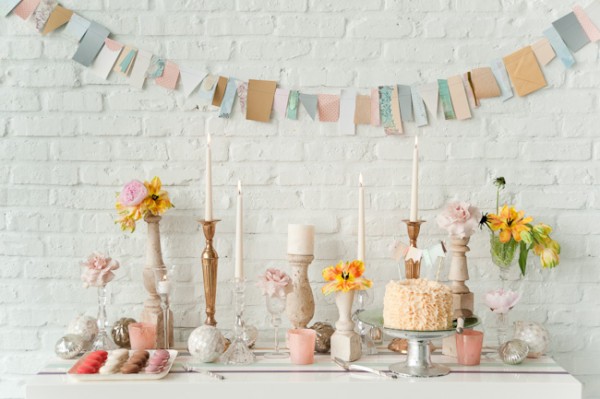
Pretty Pastels & Metallics
-

Modern Industrial Glamour
-

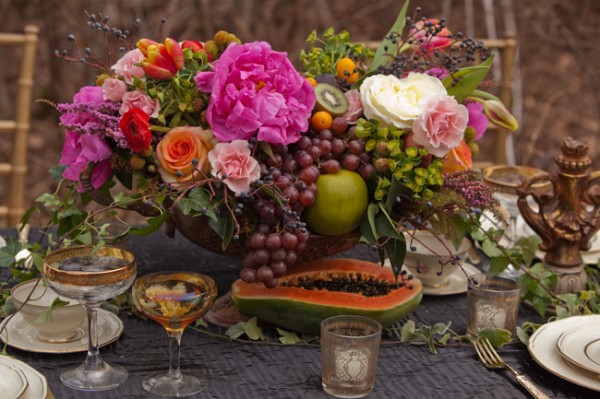
Plum & Bronze Glamour
-
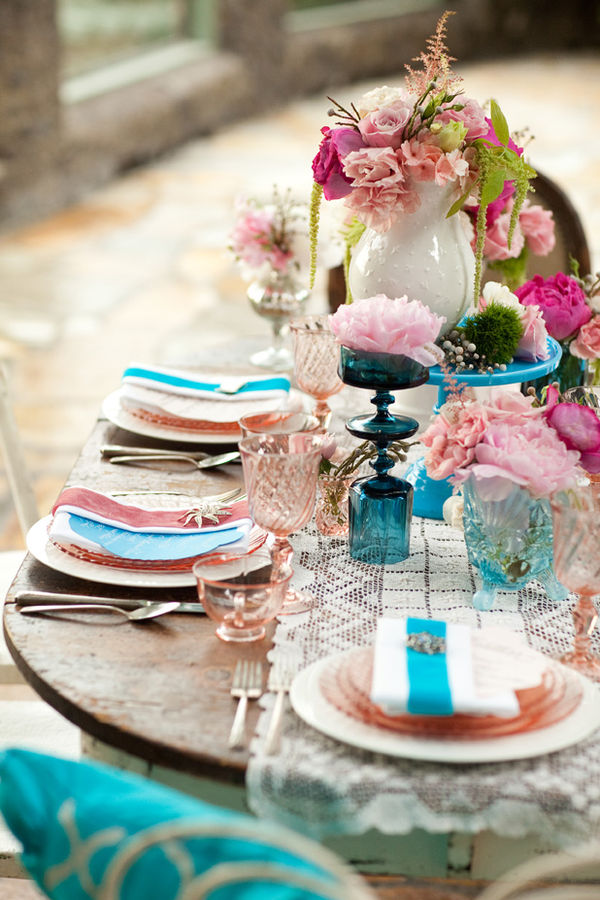
Aqua Flowers and Tablescapes
-
Icy Blue & Silver Winter Tabletop
-
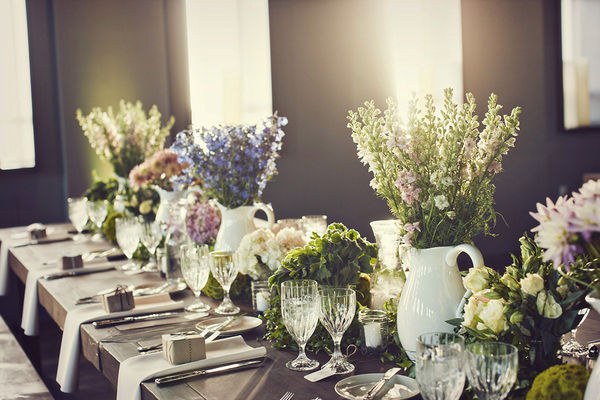
Farmhouse Estate Tables
-
Elegant Woodland Wedding Style
-
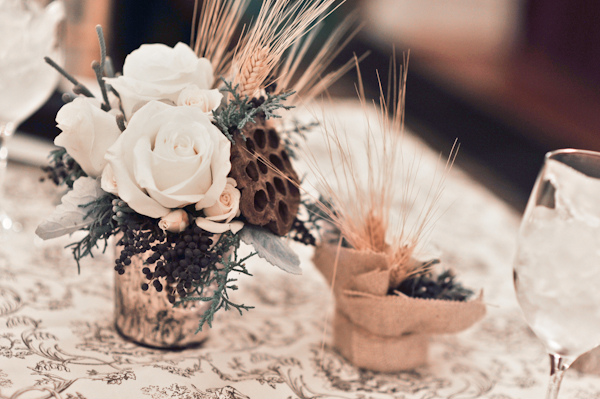
Elegant Burlap & Wood Tabletop
-
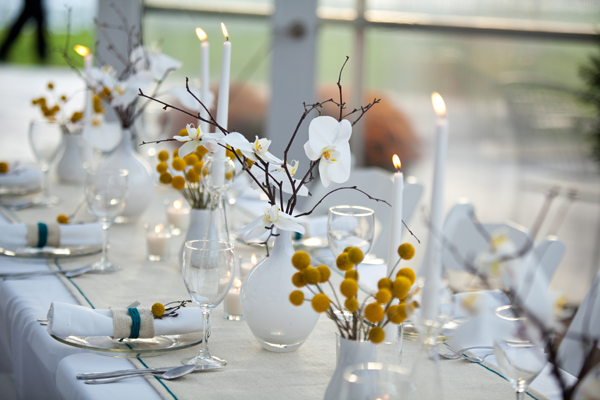
Modern Yellow & White Tabletop
-
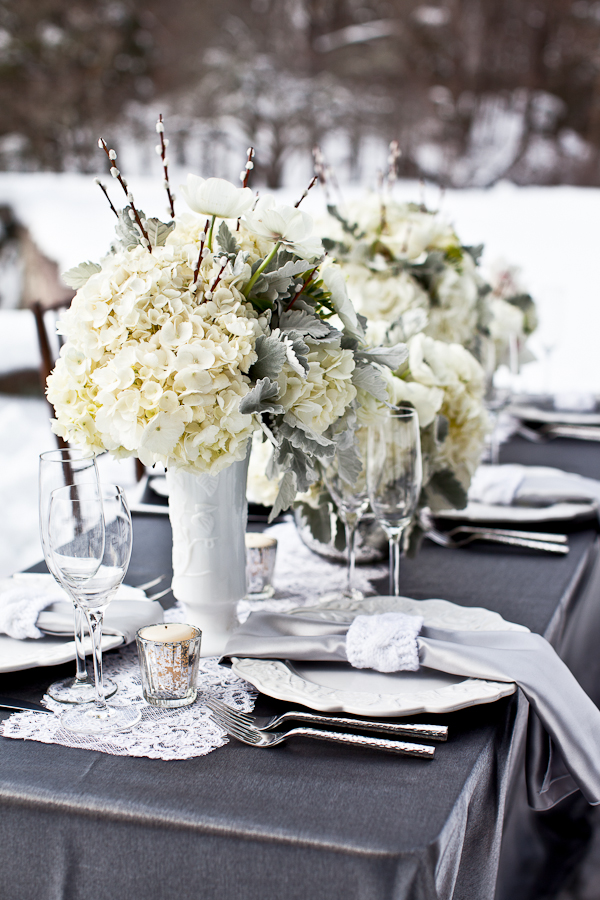
Winter Wonderland Inspiration
-
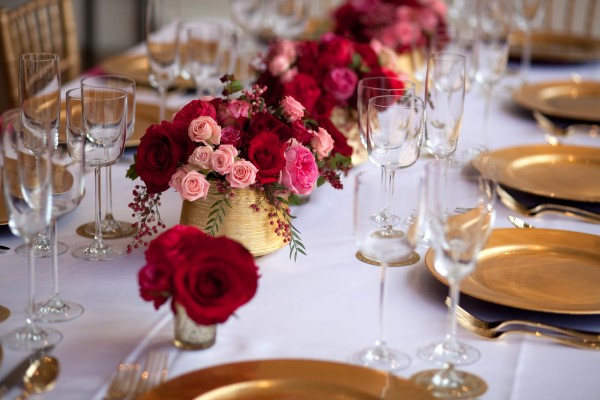
Pink, Red, & Gold Tabletop
-
Colorful Floral Tabletop
-
Our Reception Details
-
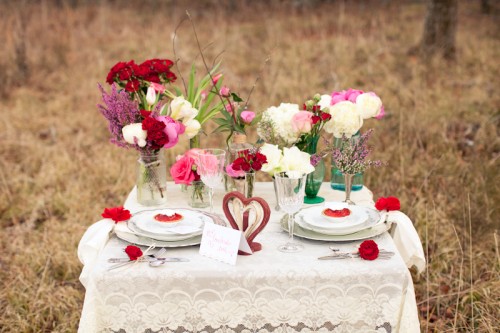
Valentine’s Day Sweetheart Table
-
Elegant French-Inspired Table
-
Mo+Boy Tie the Knot: Tent Details
-
Chic Mismatched Centerpieces
-
DIY Springtime Centerpiece Instructions
-
Lilac and Linen: A Spring Wedding Table
-
Meeting with a (the?) florist
-
Wedding day details: Behind the scenes!
-
I’ll take that one there, please.
-
Summer Romance Tablescape
-
Wedding Day Details: The DIY Flowers
-
Real Weddings: Joe + Mandy
-

Tabletop Inspiration: Poppies!
-
Estate Table Centerpieces
-
DIY Wedding Details: Covered Tin Can Centerpieces