Real Weddings
Choose Your Colors
Styled Editorials
Expert Advice
Instagram
Facebook
Pinterest
Search
Real Weddings
Choose Your Colors
Styled Editorials
Expert Advice
Search
Ubud Palace
Instagram
Facebook
Pinterest
© 2007-2024 Elizabeth Anne Designs
Tag
Programs
Real Weddings
Pretty Pink Missouri Museum Wedding
Real Weddings
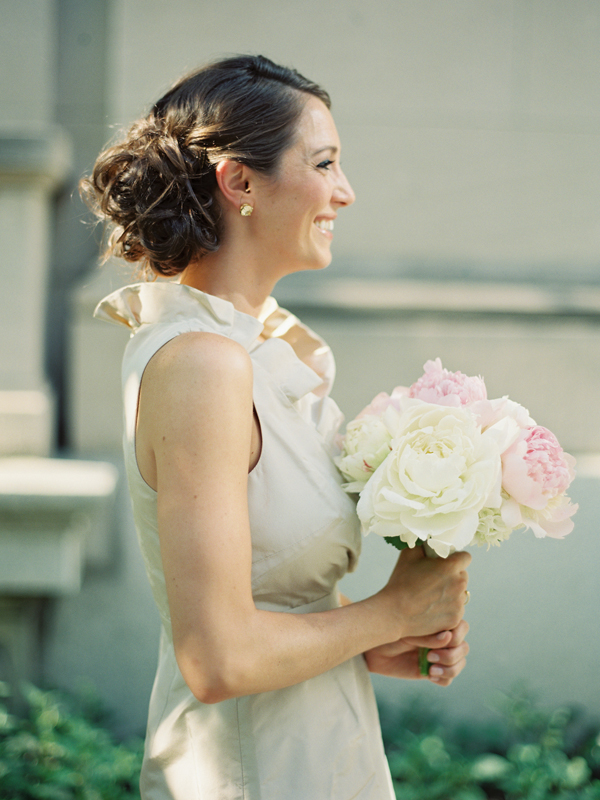
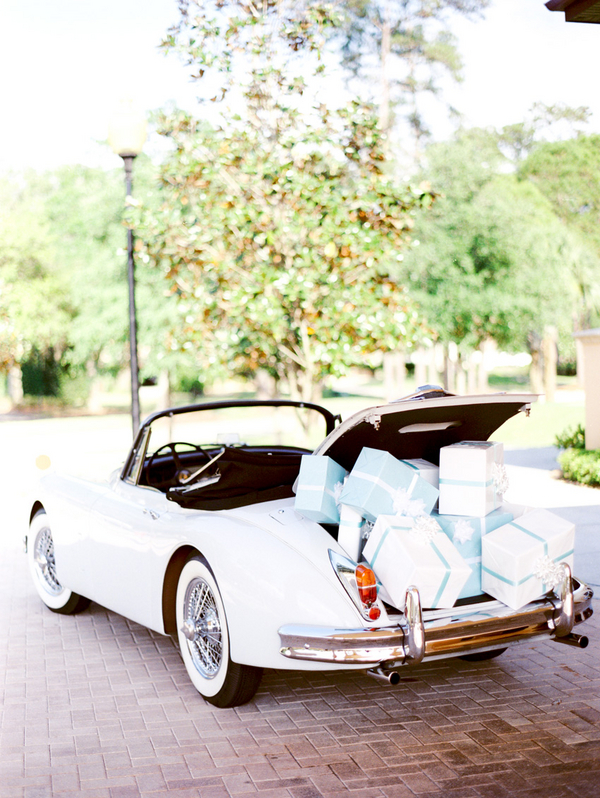
Timeless White Wedding
DIY
,
What To Wear
The Little Details – II
DIY
,
Favors
Passport Programs and CD Favors
DIY
,
Stationery
,
The Planning Process
DIY
Ceremony and Reception
,
DIY
,
Stationery
Ceremony Program Mock Up
Life
A Sappy Bride
Inspiration
,
Stationery
Stationery Thursday: Please Be Seated
Floral and Decor
,
Life
,
The Planning Process
Eco-chic chick!
Blogging
,
DIY
,
Stationery
DIY Venue-Inspired Save-the-Dates
Ceremony and Reception
,
The Planning Process
You’re doing what?
The Planning Process
Making a List, Checking it Twice
1
2
3
…
5
Next Page