


-
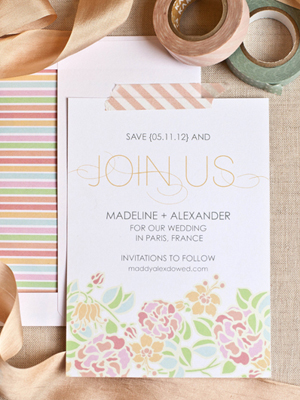
12 Fabulous and Free Wedding Printables
-
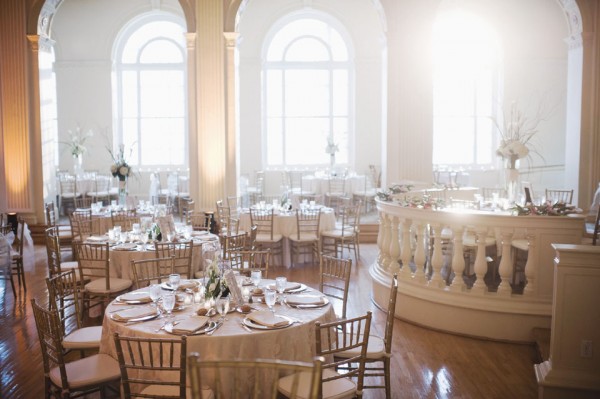
Beautiful Atlanta Ballroom Wedding
-
The Little Details – II
-
Tables = super exciting
-
Wedding Details: Spice Jar Table Numbers
-
The Welcome Party, Part I
-
DIY Entry #47: Table Numbers
-
DIY Entry #44: Table Numbers and Place Cards
-
DIY Entry #43: Table Numbers and Place Cards
-
DIY Entry #15: Table Numbers