


-
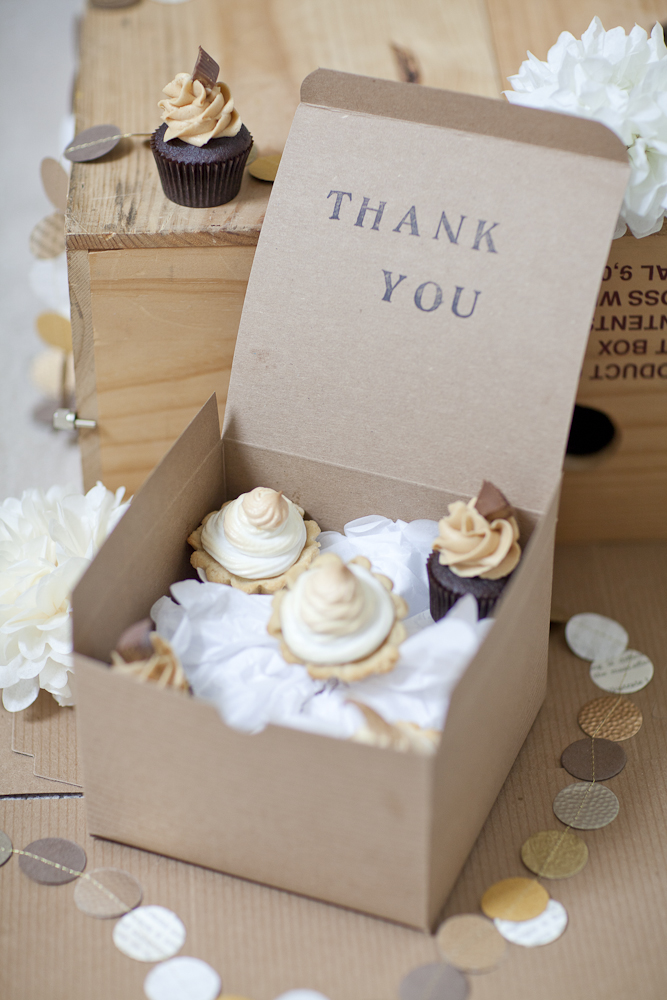
DIY Dessert Favors
-
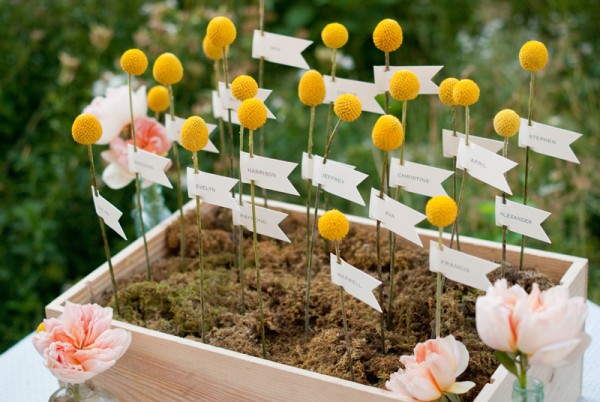
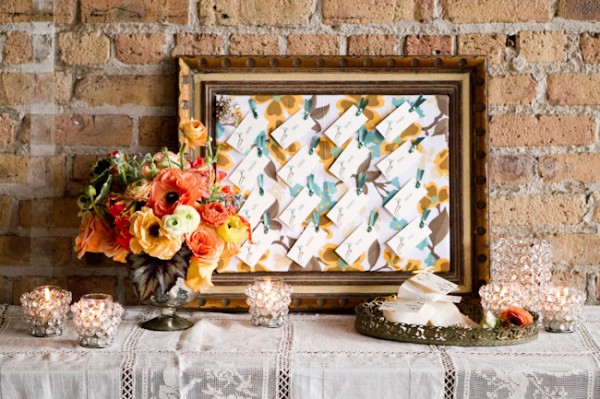
DIY Escort Card Display
-
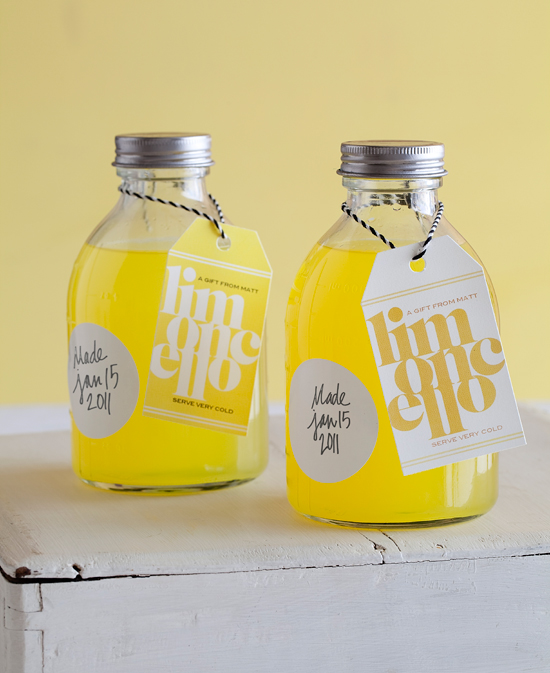
Lemon Favors
-
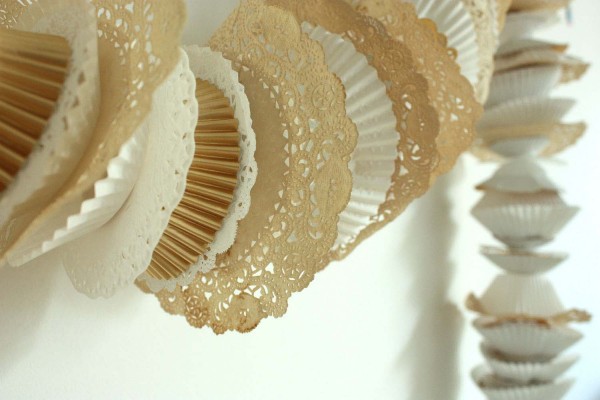
DIY Doily & Cupcake Liner Garland
-
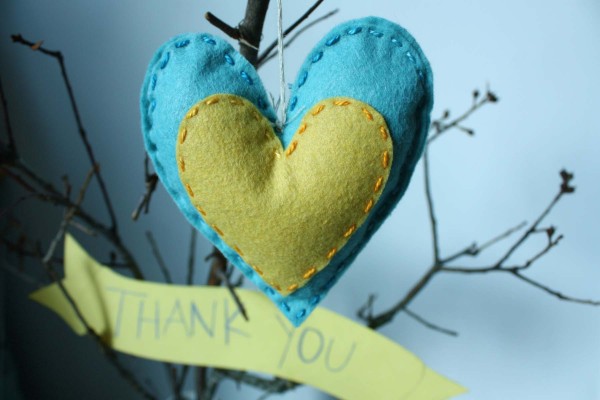
DIY Heart Sachet Favors
-
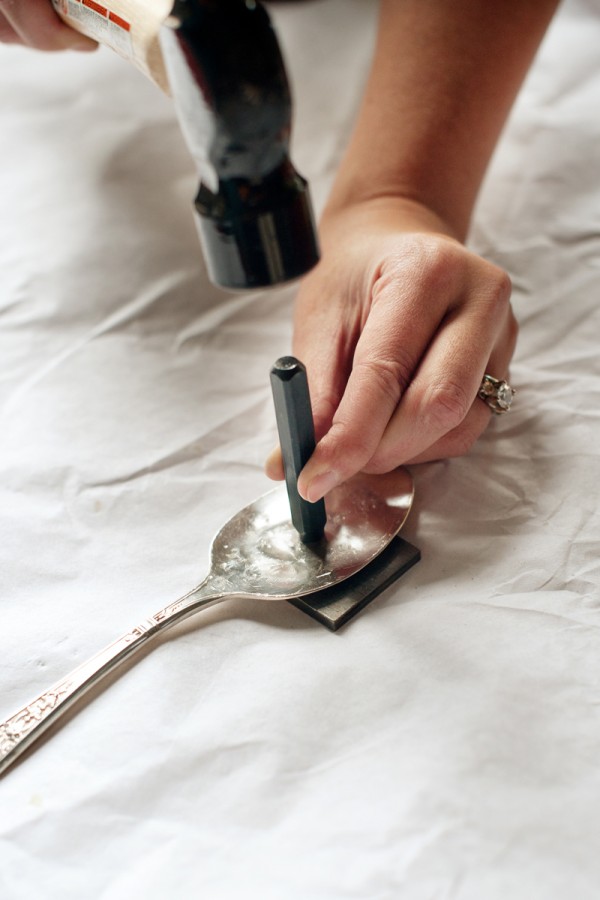
Hammered Spoon Place Cards
-
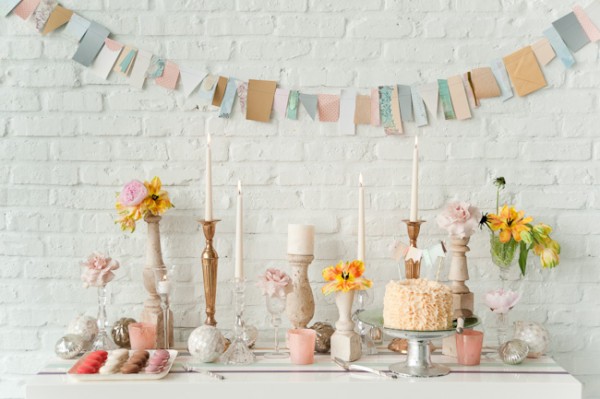
Pretty Pastels & Metallics
-
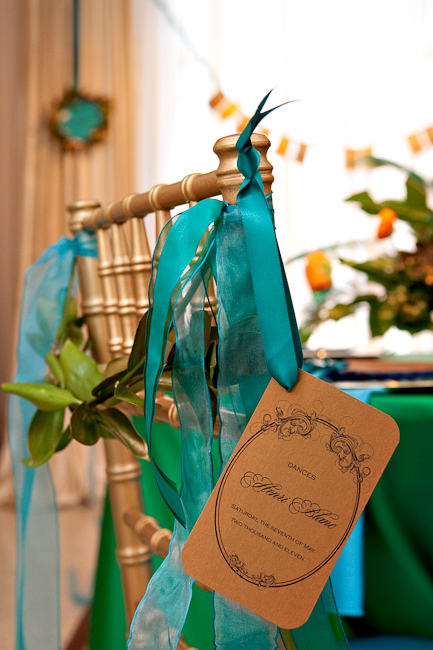
Masquerade Ball: DIY Tutorials
-
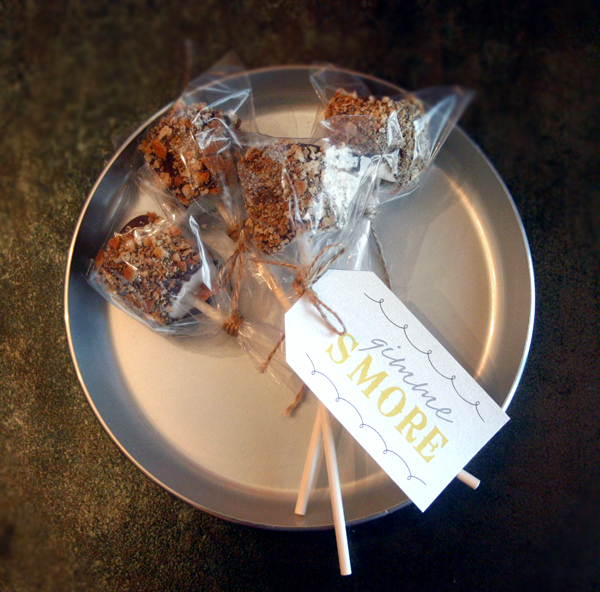
S’mores Favors
-
Pancake Brunch: DIY Stationery + Favors
-

Modern Glam Bride
-
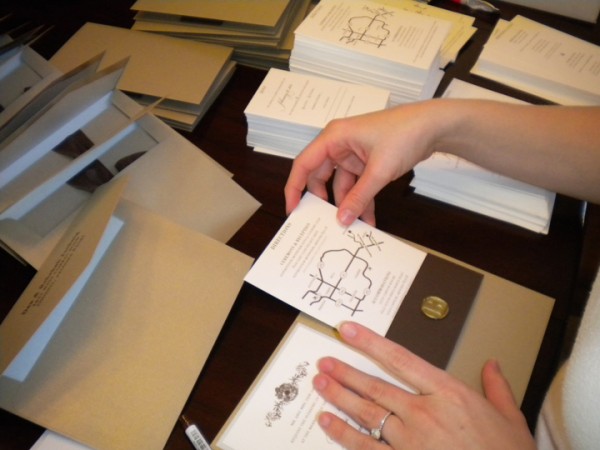
How Our Invitations Came Together