


Good morning, weekend warriors! I hope everyone is having a great (and grateful) Memorial Day weekend!

Planning has been going a bit more smoothly this week. We’re so excited to introduce our new photographers, Andrew and Jessica Schaeffer, later this week. We also figured out the order for our ceremony, and worked on the music for the reception. Finally, I picked up a bunch of scrap fabrics over the weekend and came up with a nice DIY fabric flower that’s simple and can be used for a variety of purposes! I’m using it as a hair flower here, but it could also serve as a corsage (with a pretty ribbon sewn on it and tied around the wrist), a boutonnière, a flower attached to a sash for your dress, bridesmaids gifts, or anything else you can imagine! Here’s the info:
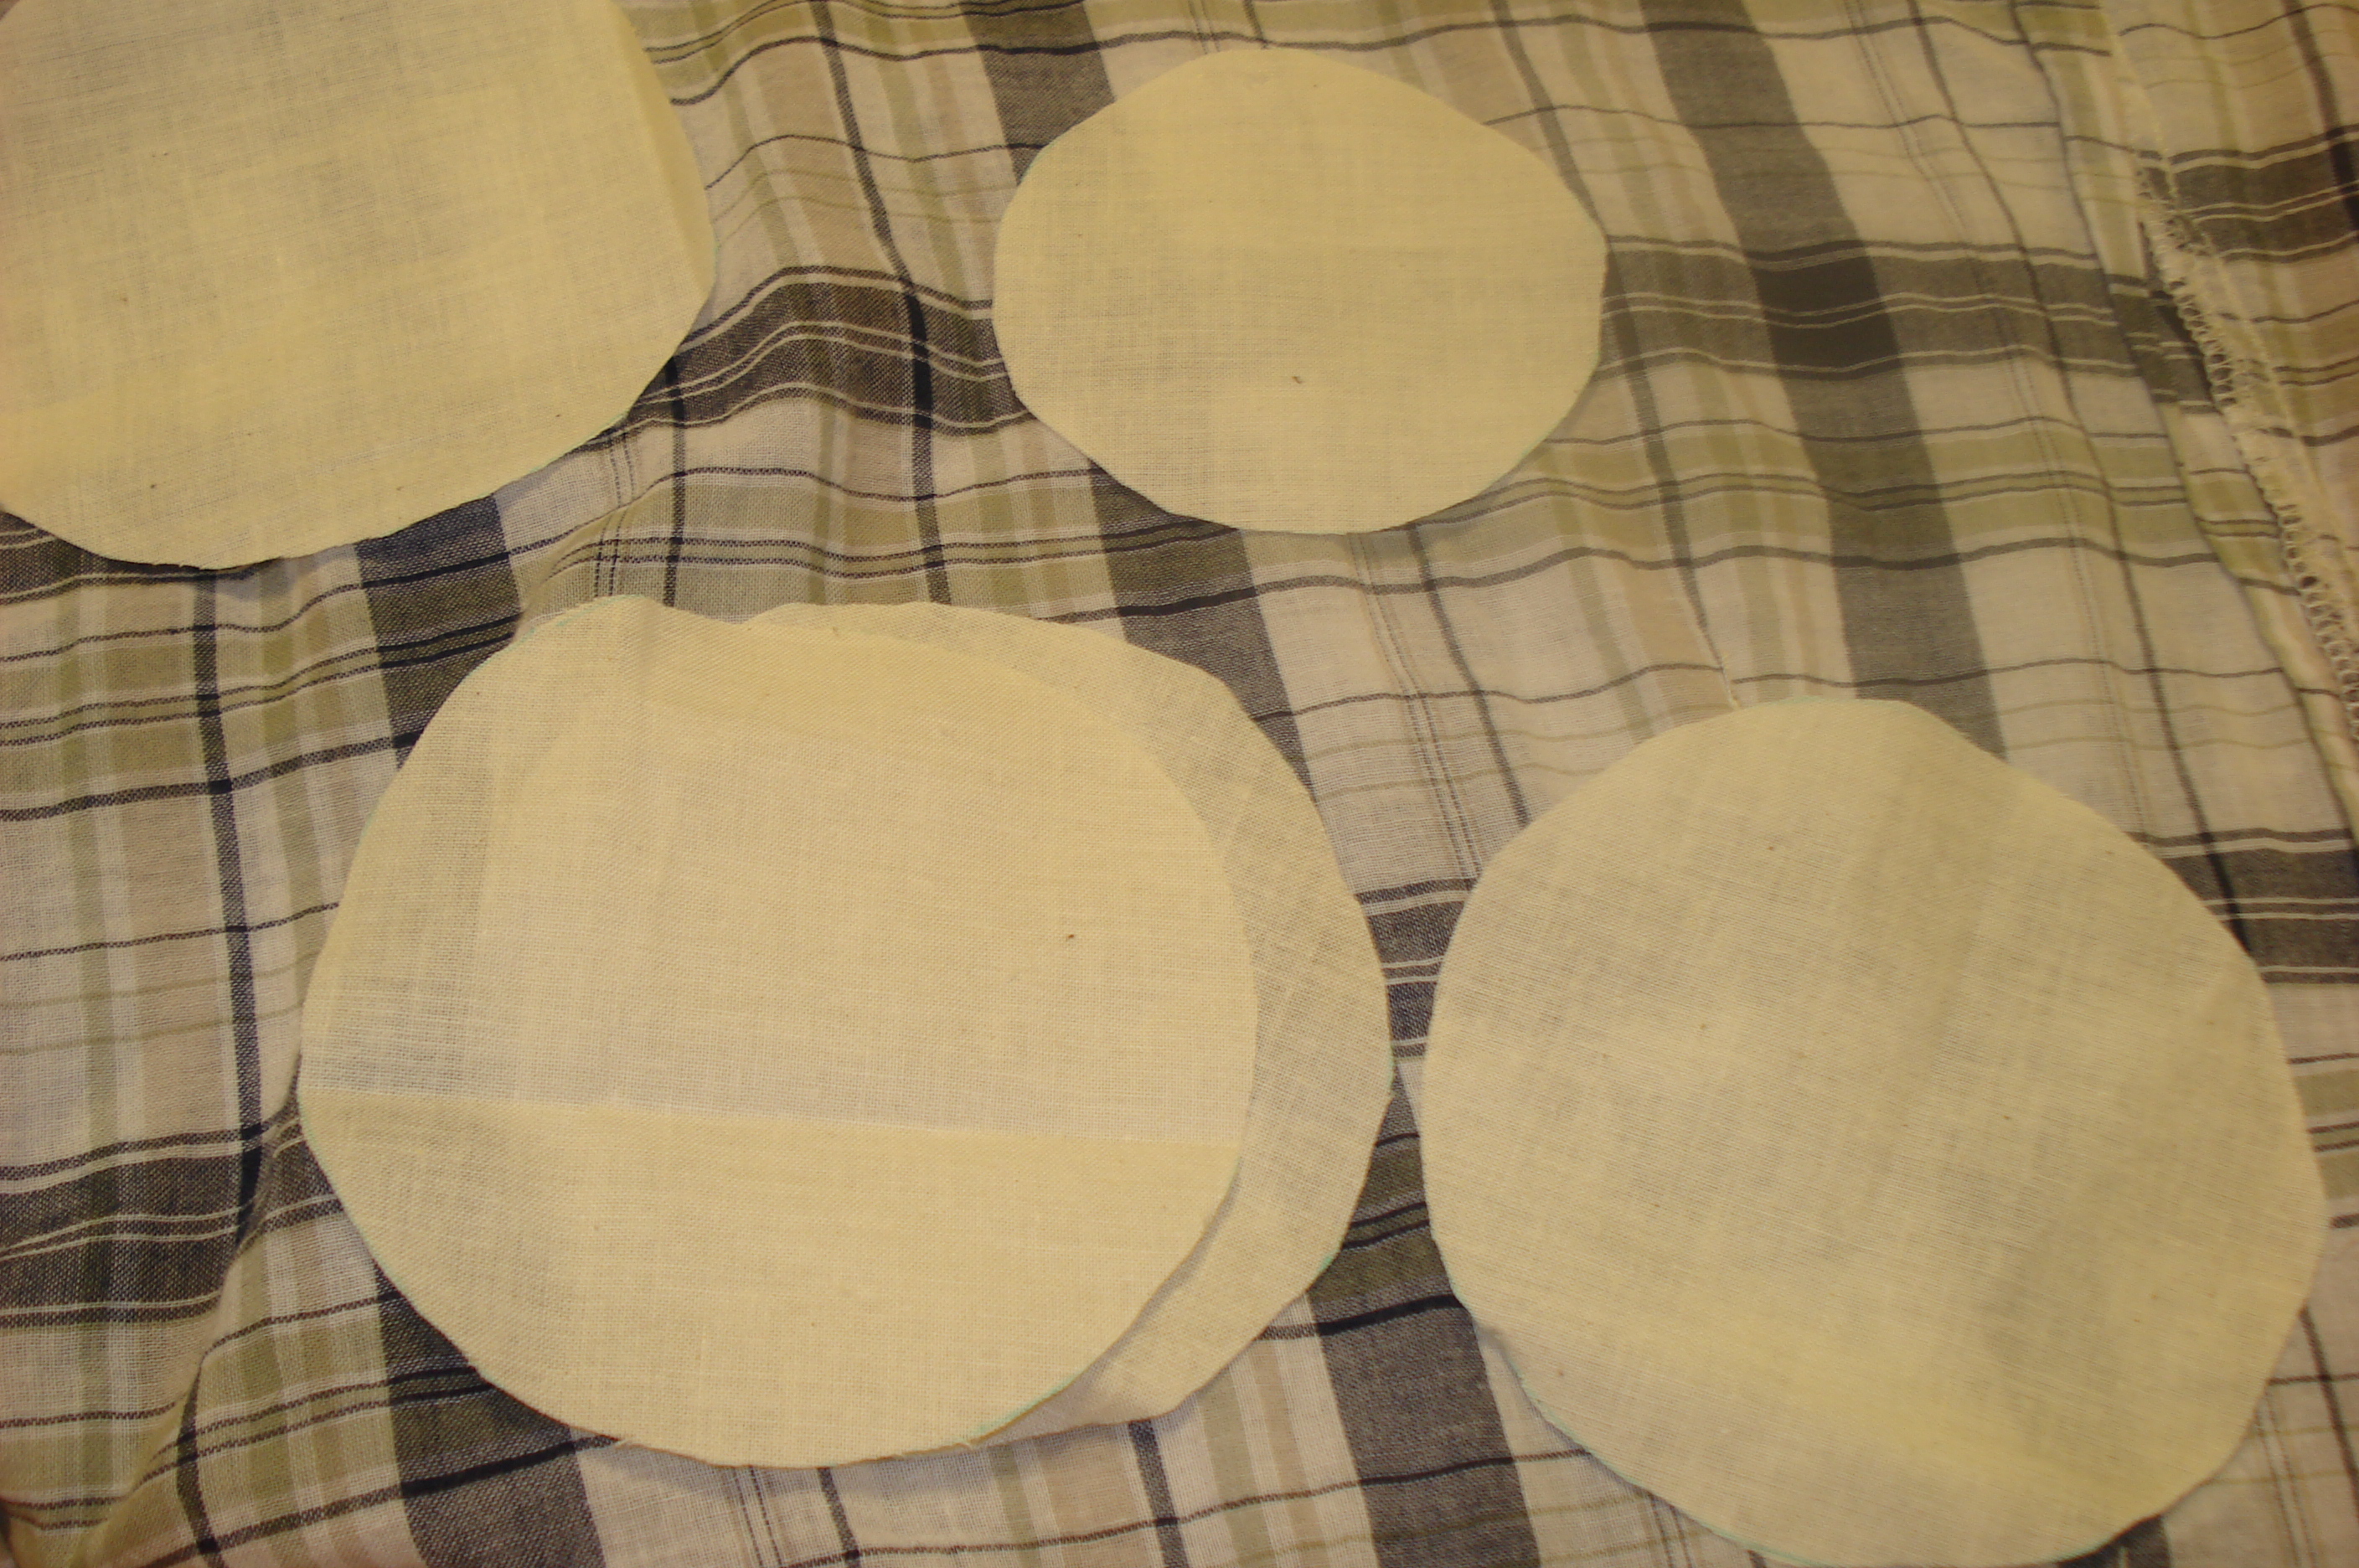
Depending on the size of your flower, these sizes will vary. For a 5″ flower, you’ll need:
-fabric pen (to trace circles onto fabric–use a cardboard circle as your guide)
-16 4.25″ circles
-8 3.5″ circles
-one 3″ circle of thicker fabric for the base
-sewing needle and thread
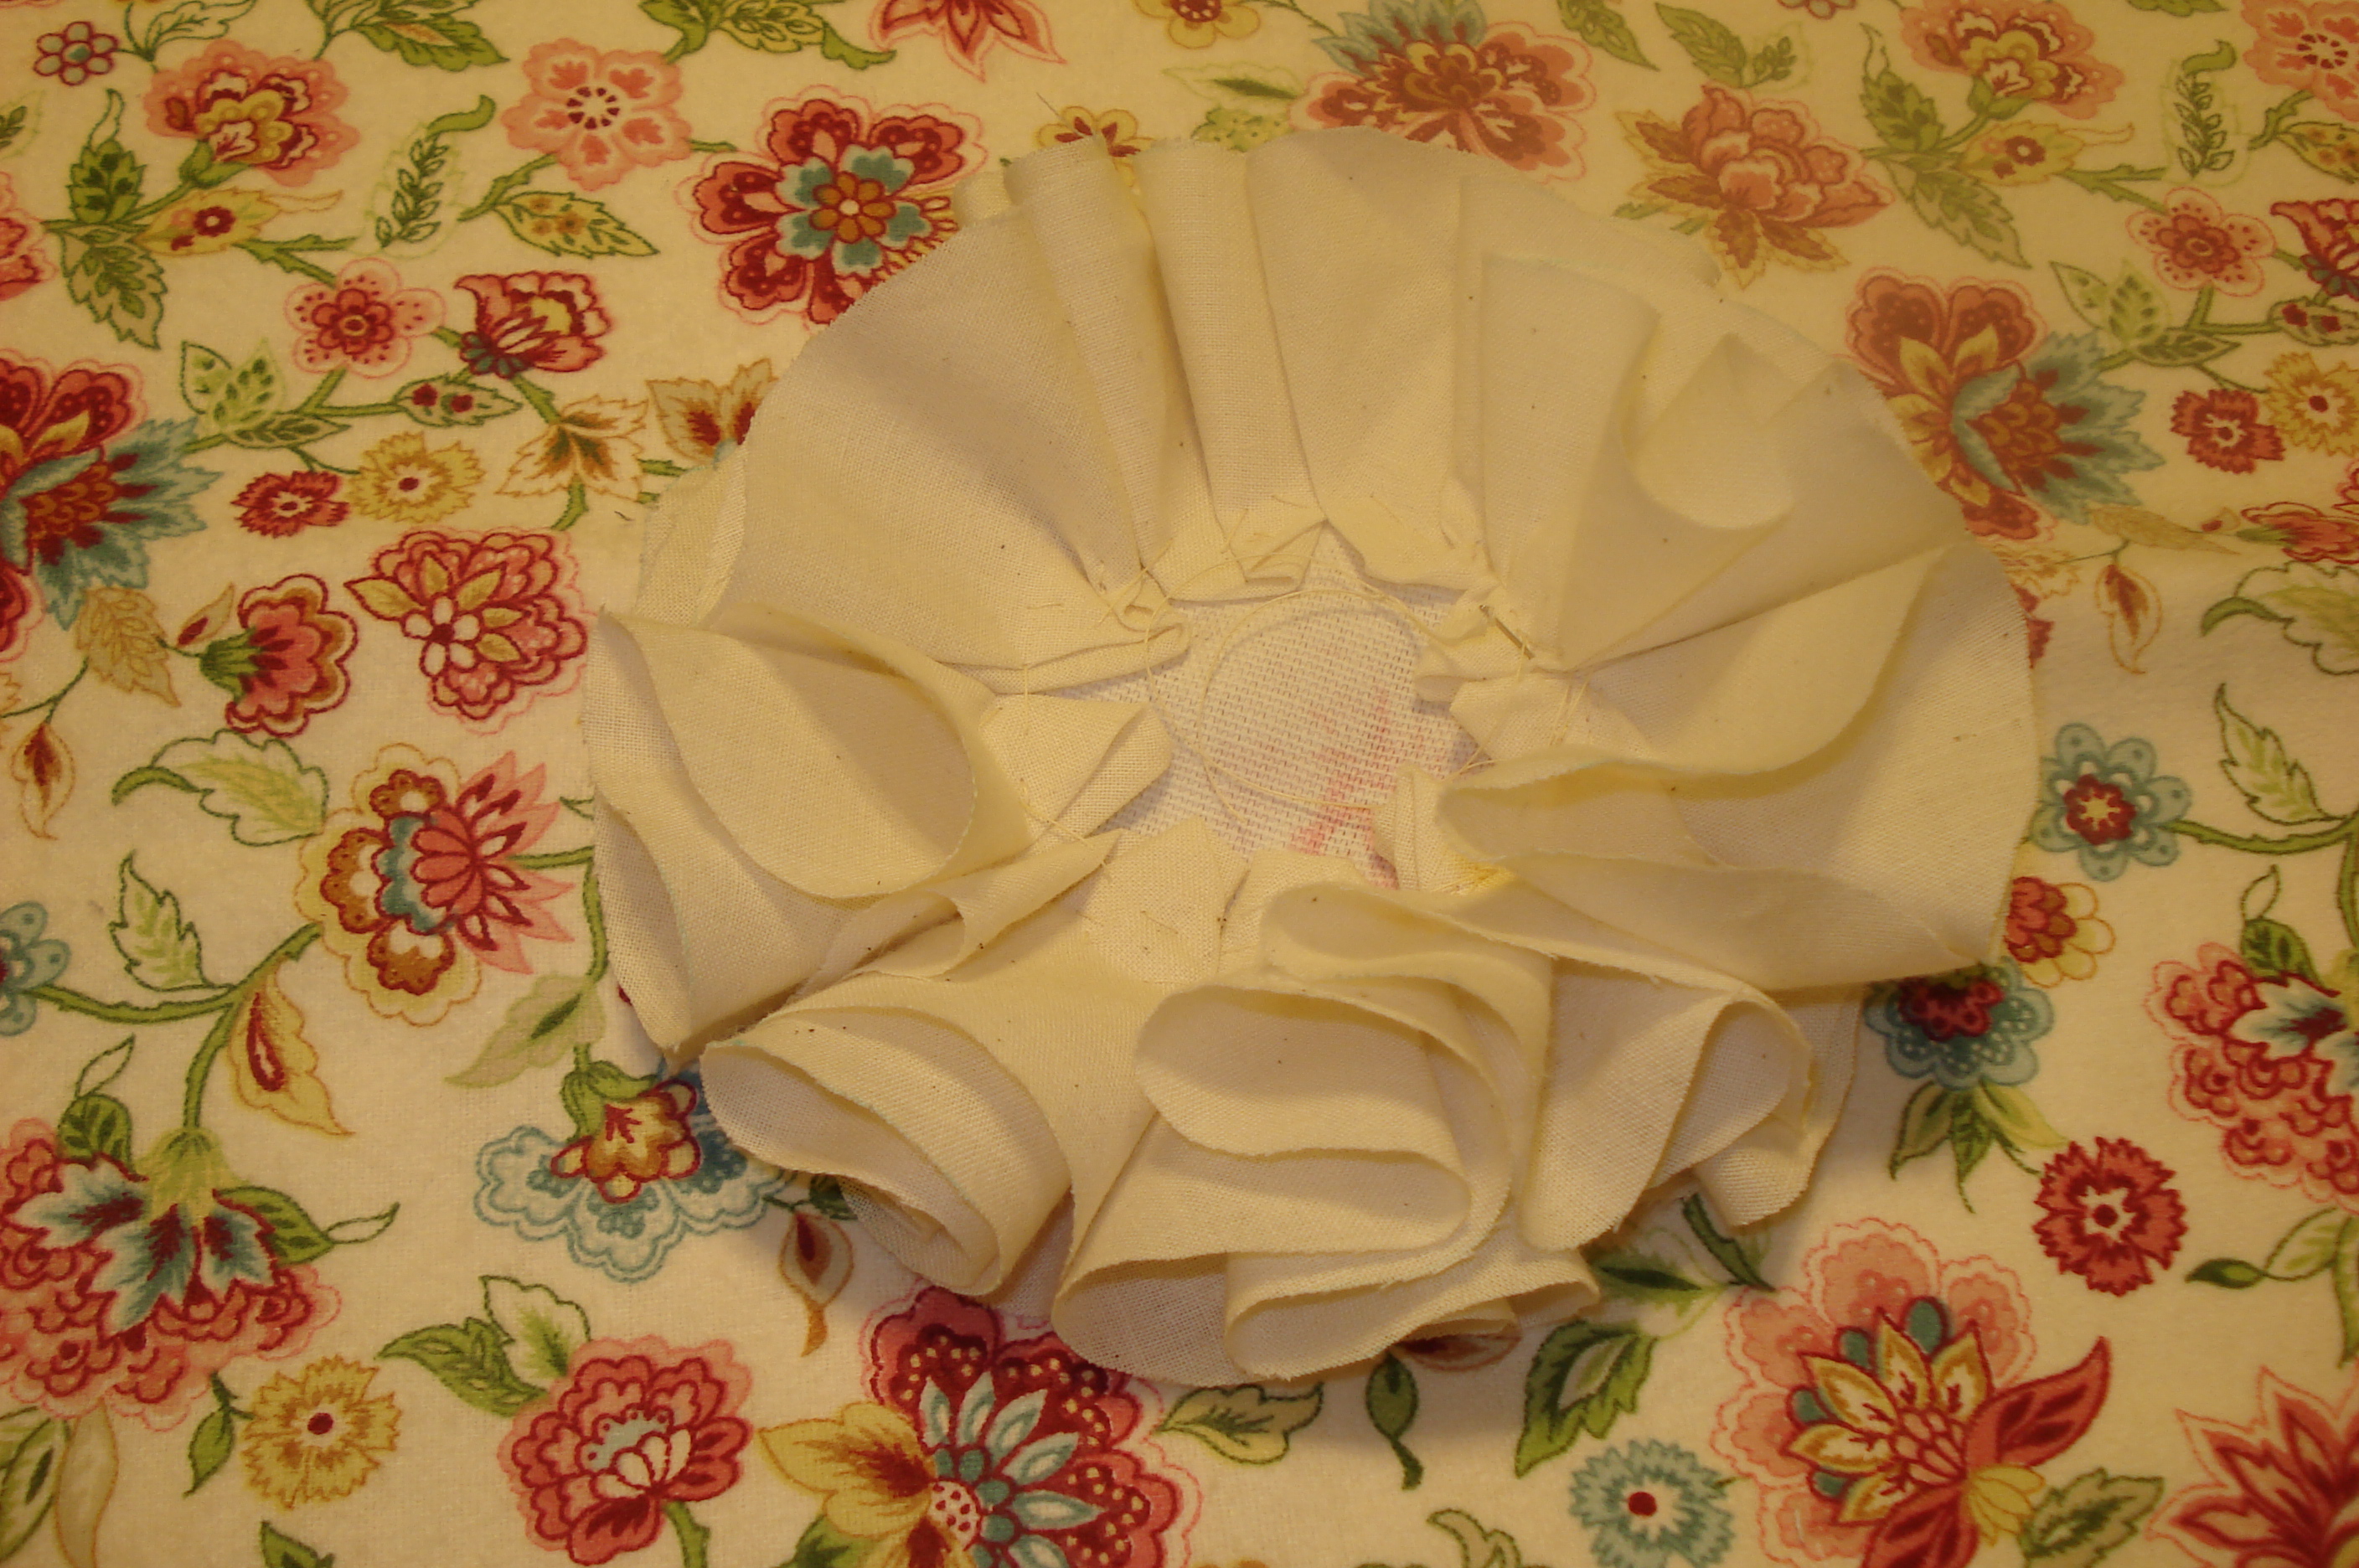
Start with one circle of thicker fabric. Crinkle each circle into a “petal” by folding it in half twice, so it looks like this:

(Sorry for the blurriness…new camera time!)
Then attach 8 larger petals to the base in a circular pattern. Repeat in another inner circle with the other 8 large petals.
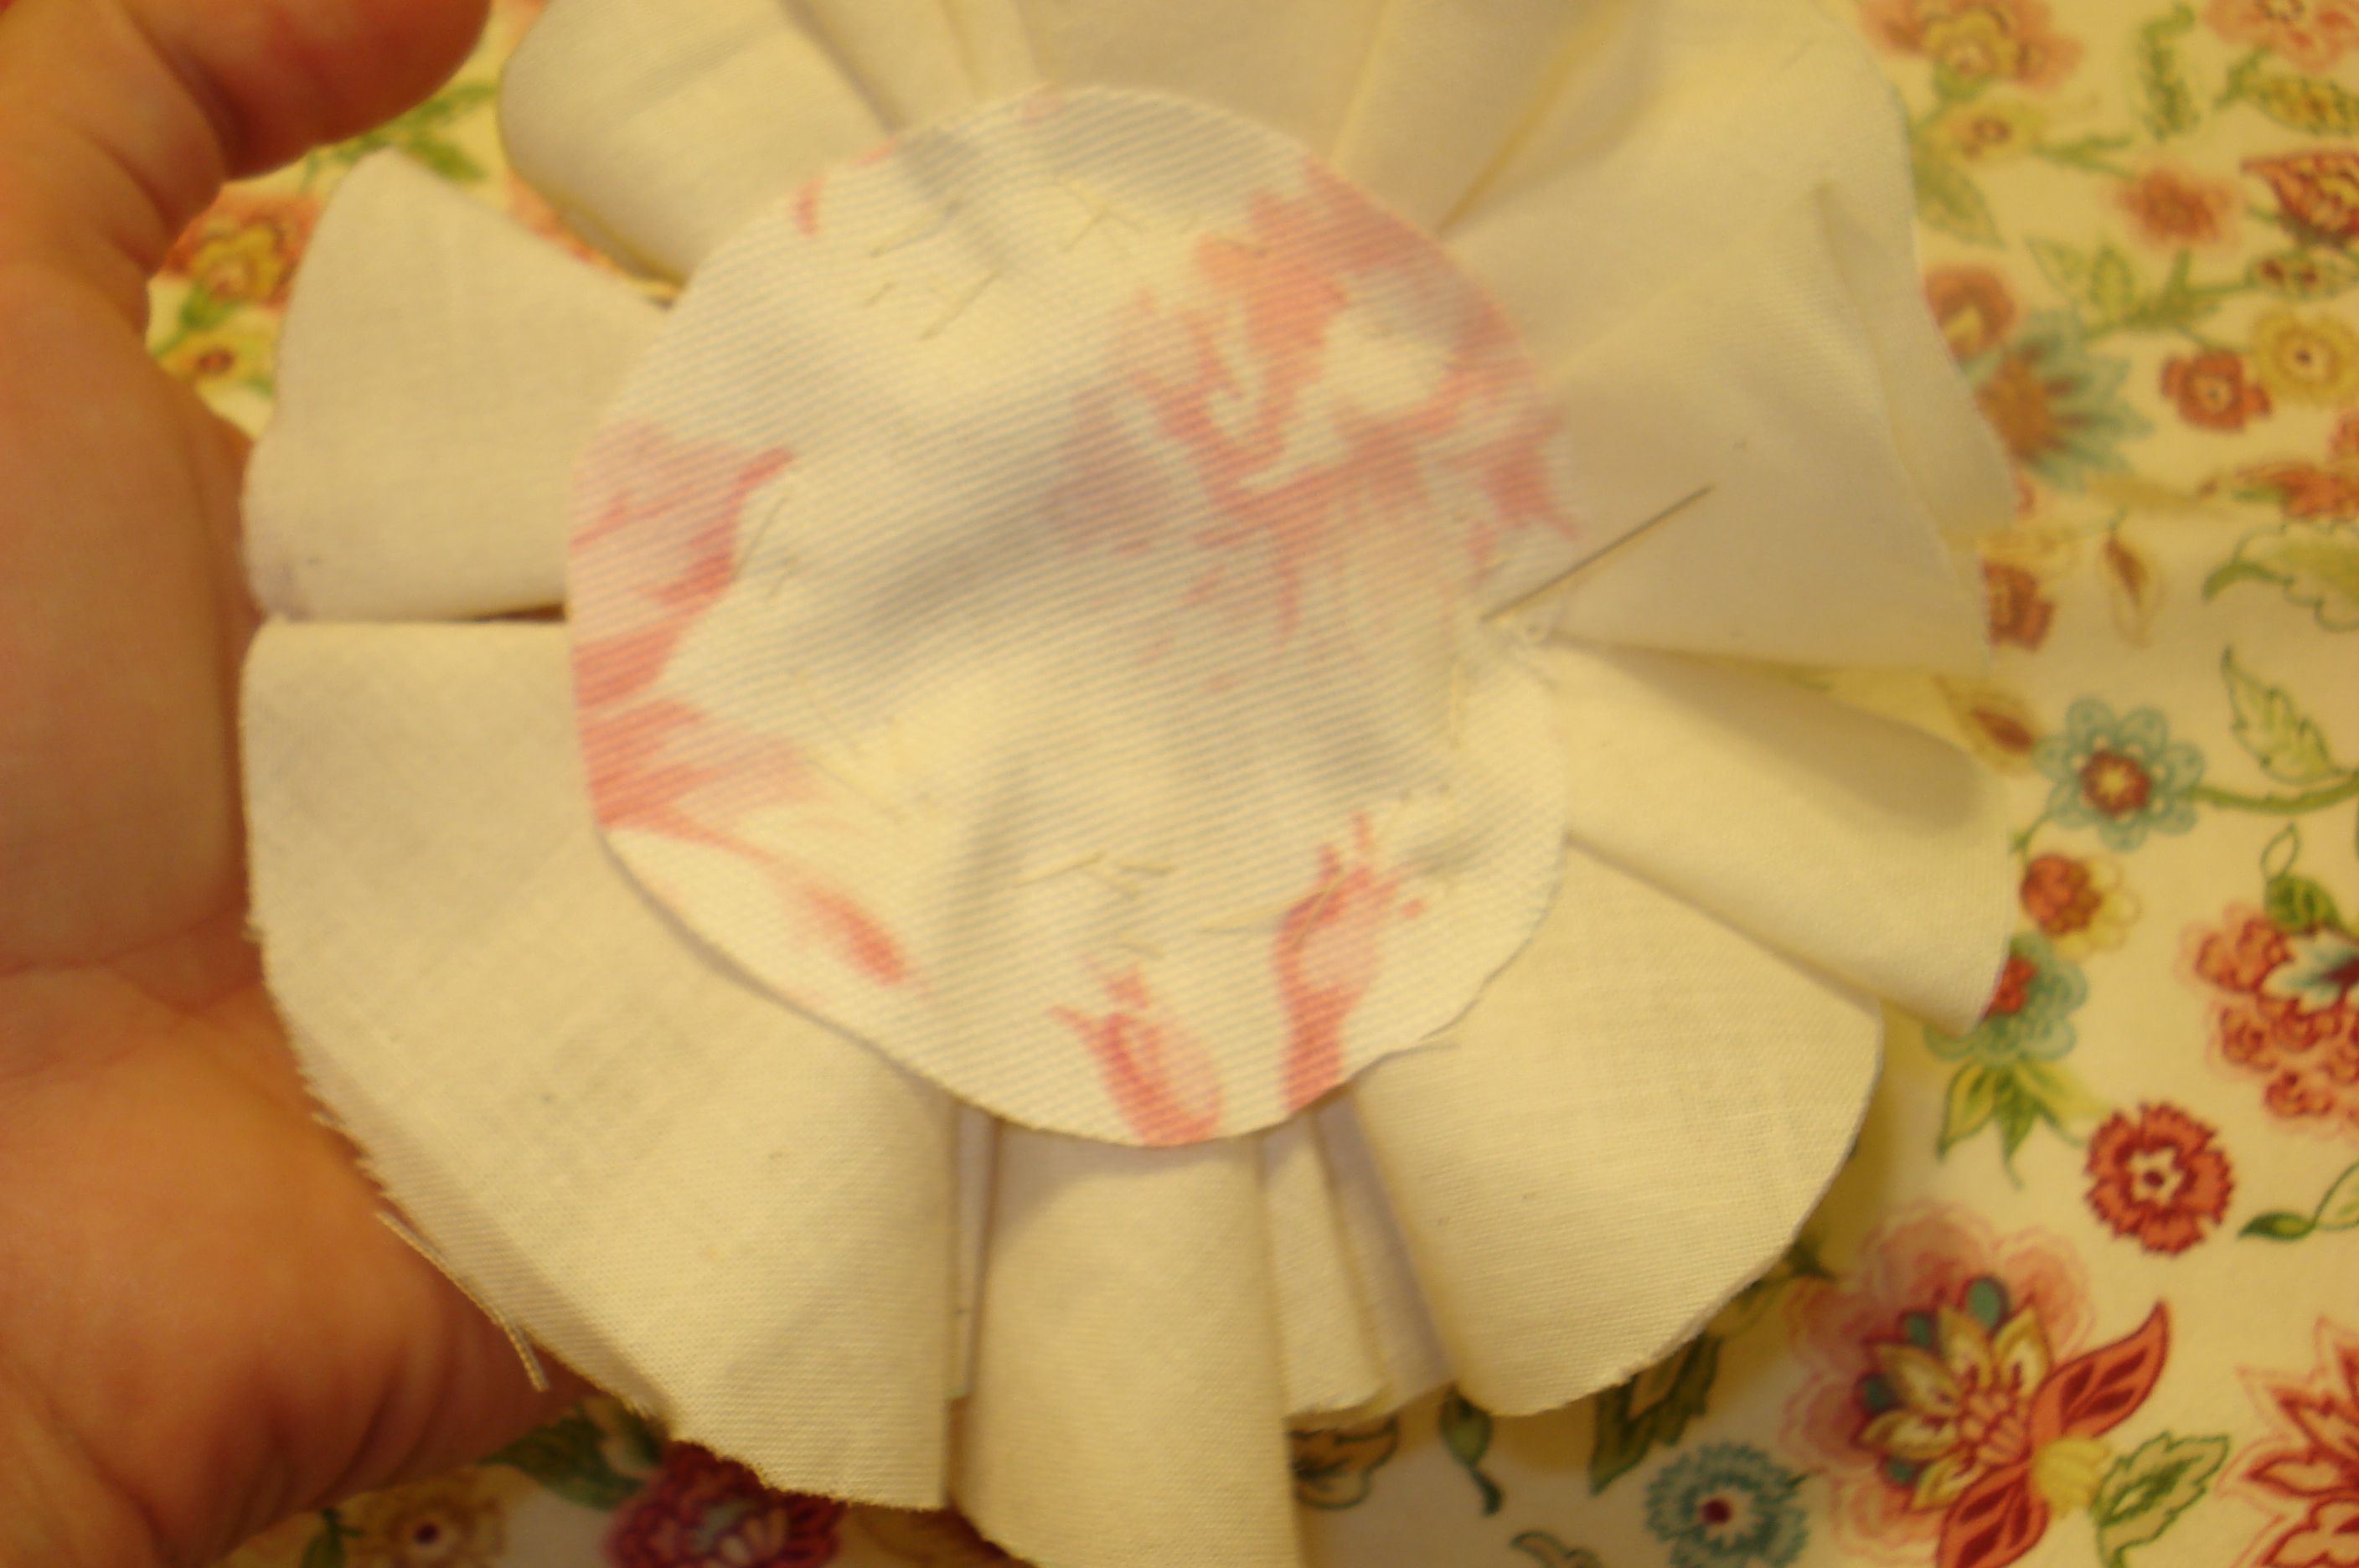
As you work inward, use the smaller petals to complete the flower. Attach buttons for the stamen, if desired.
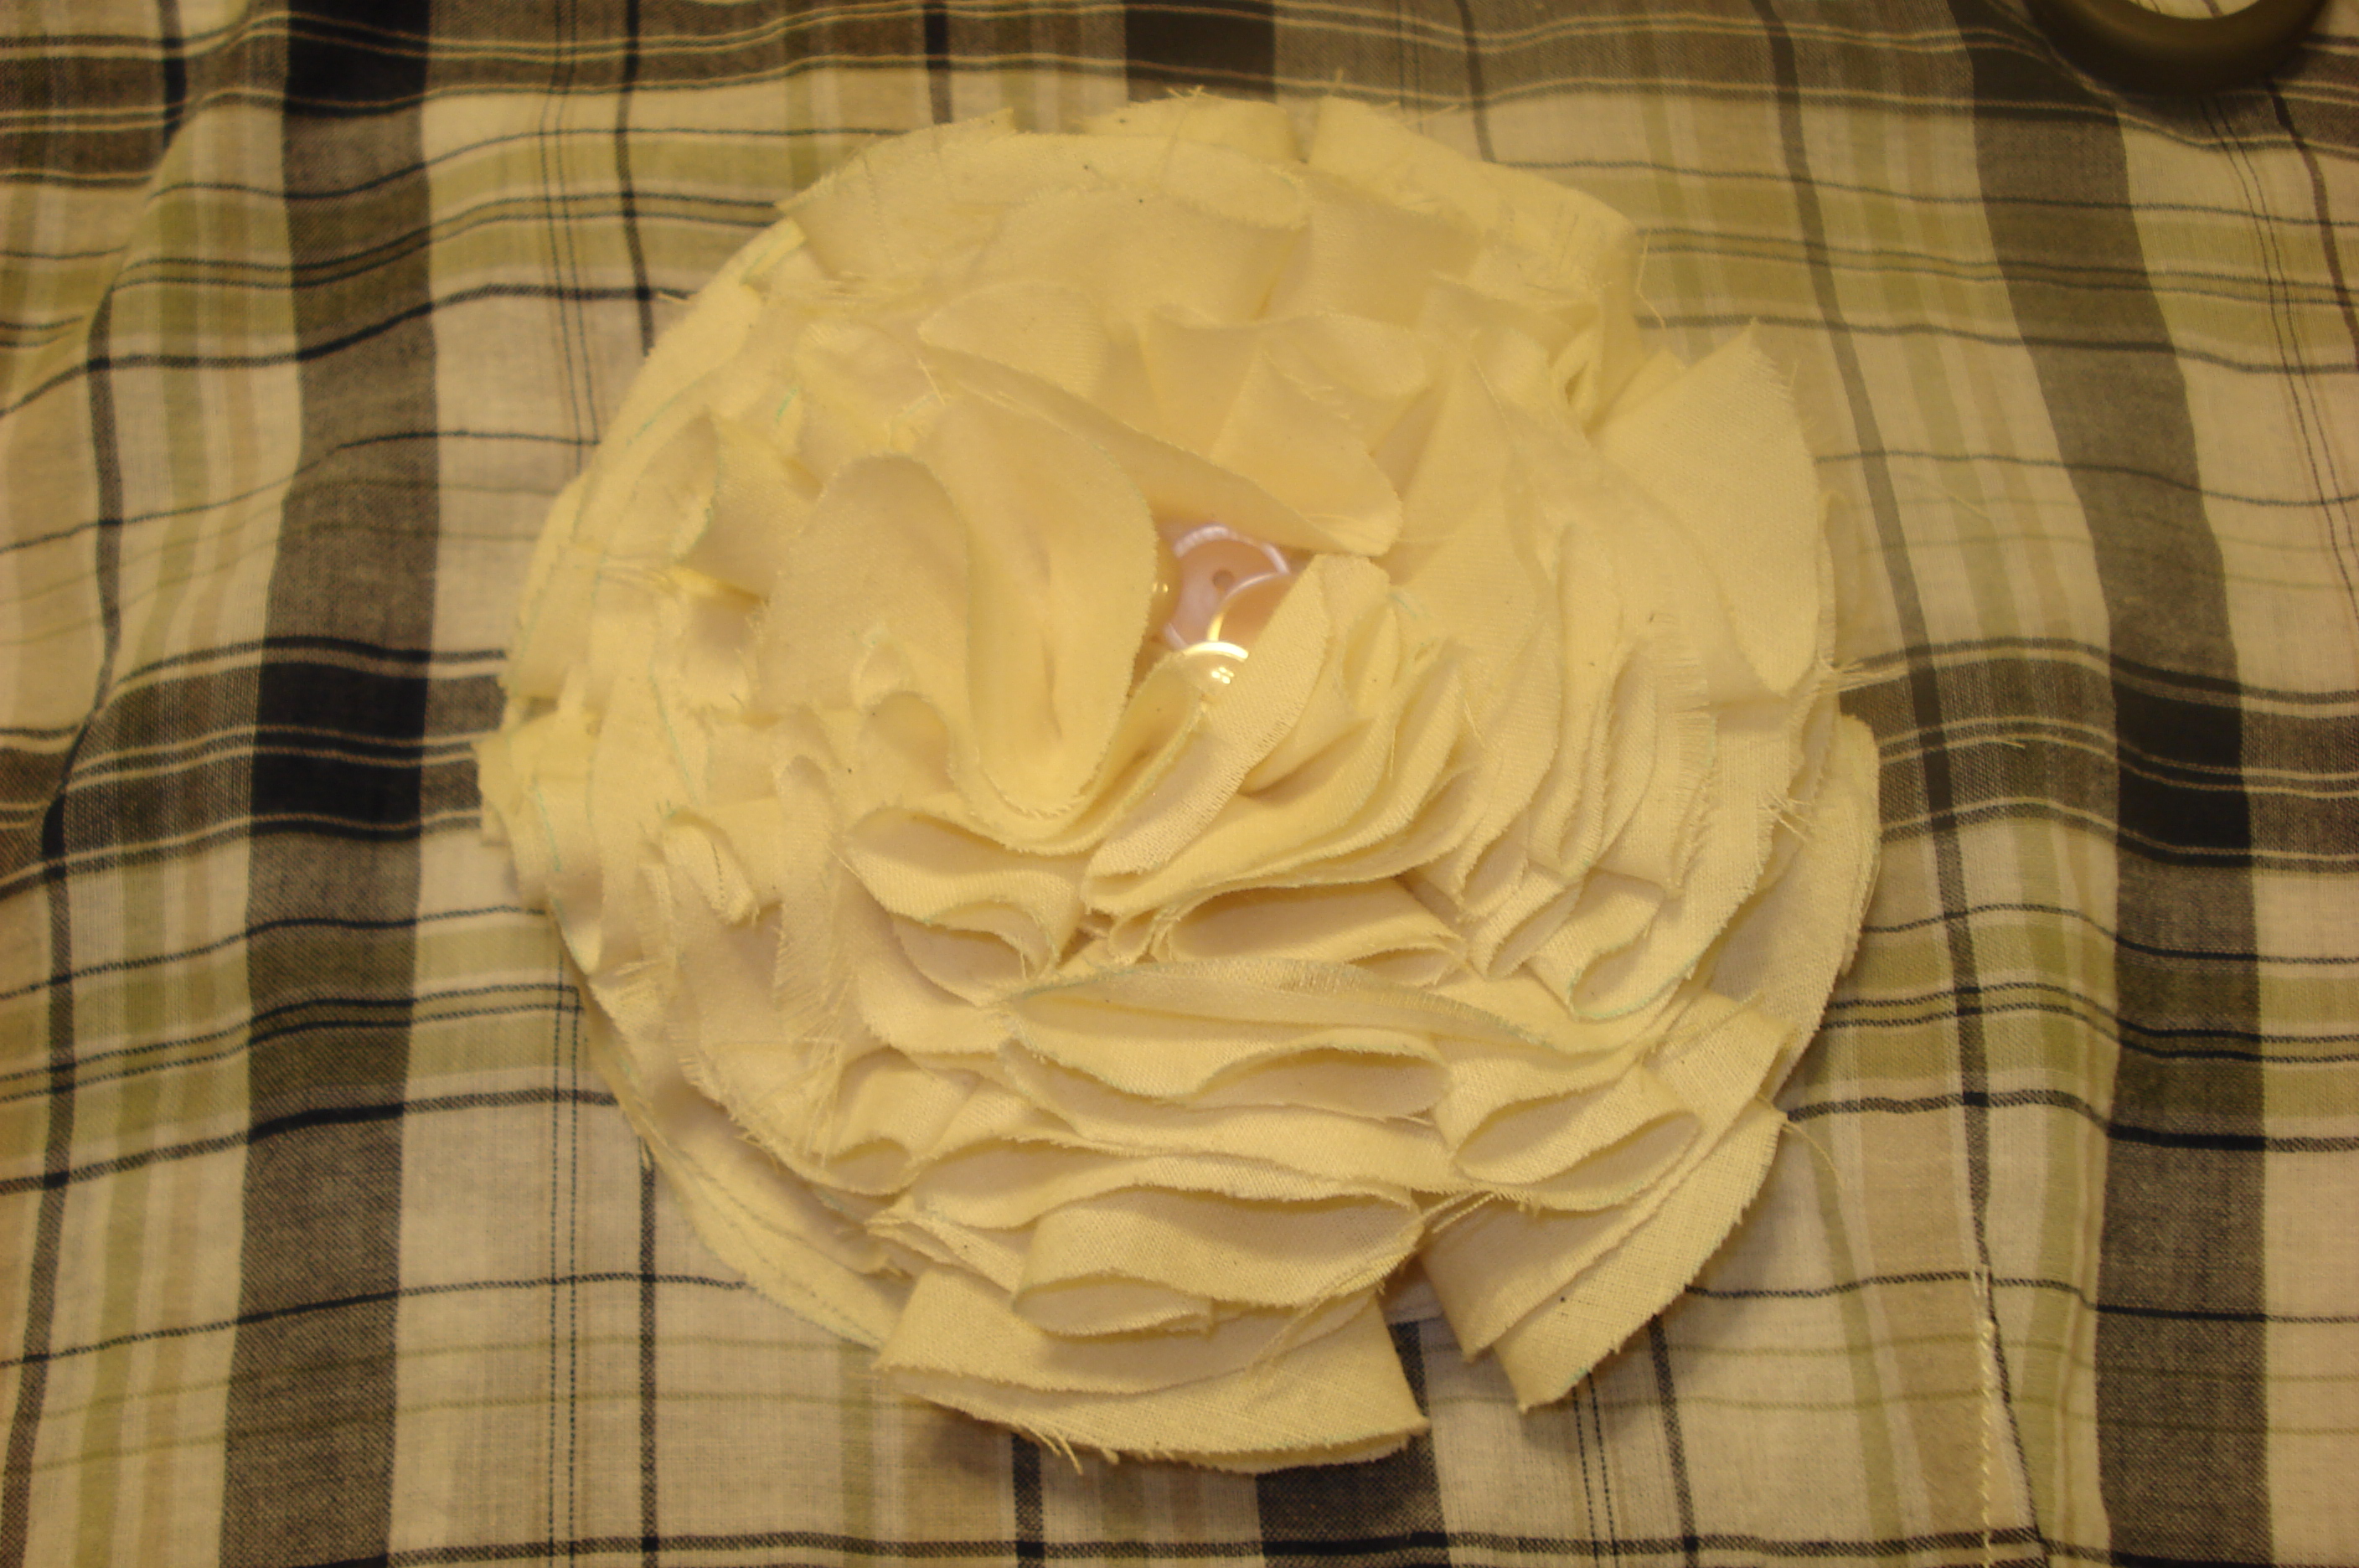
Voila! You don’t have to be a great sewer to complete this flower…it’s pretty simple. You can attach feathers or any other millinery objects you’d like to give it a vintage or other feel.
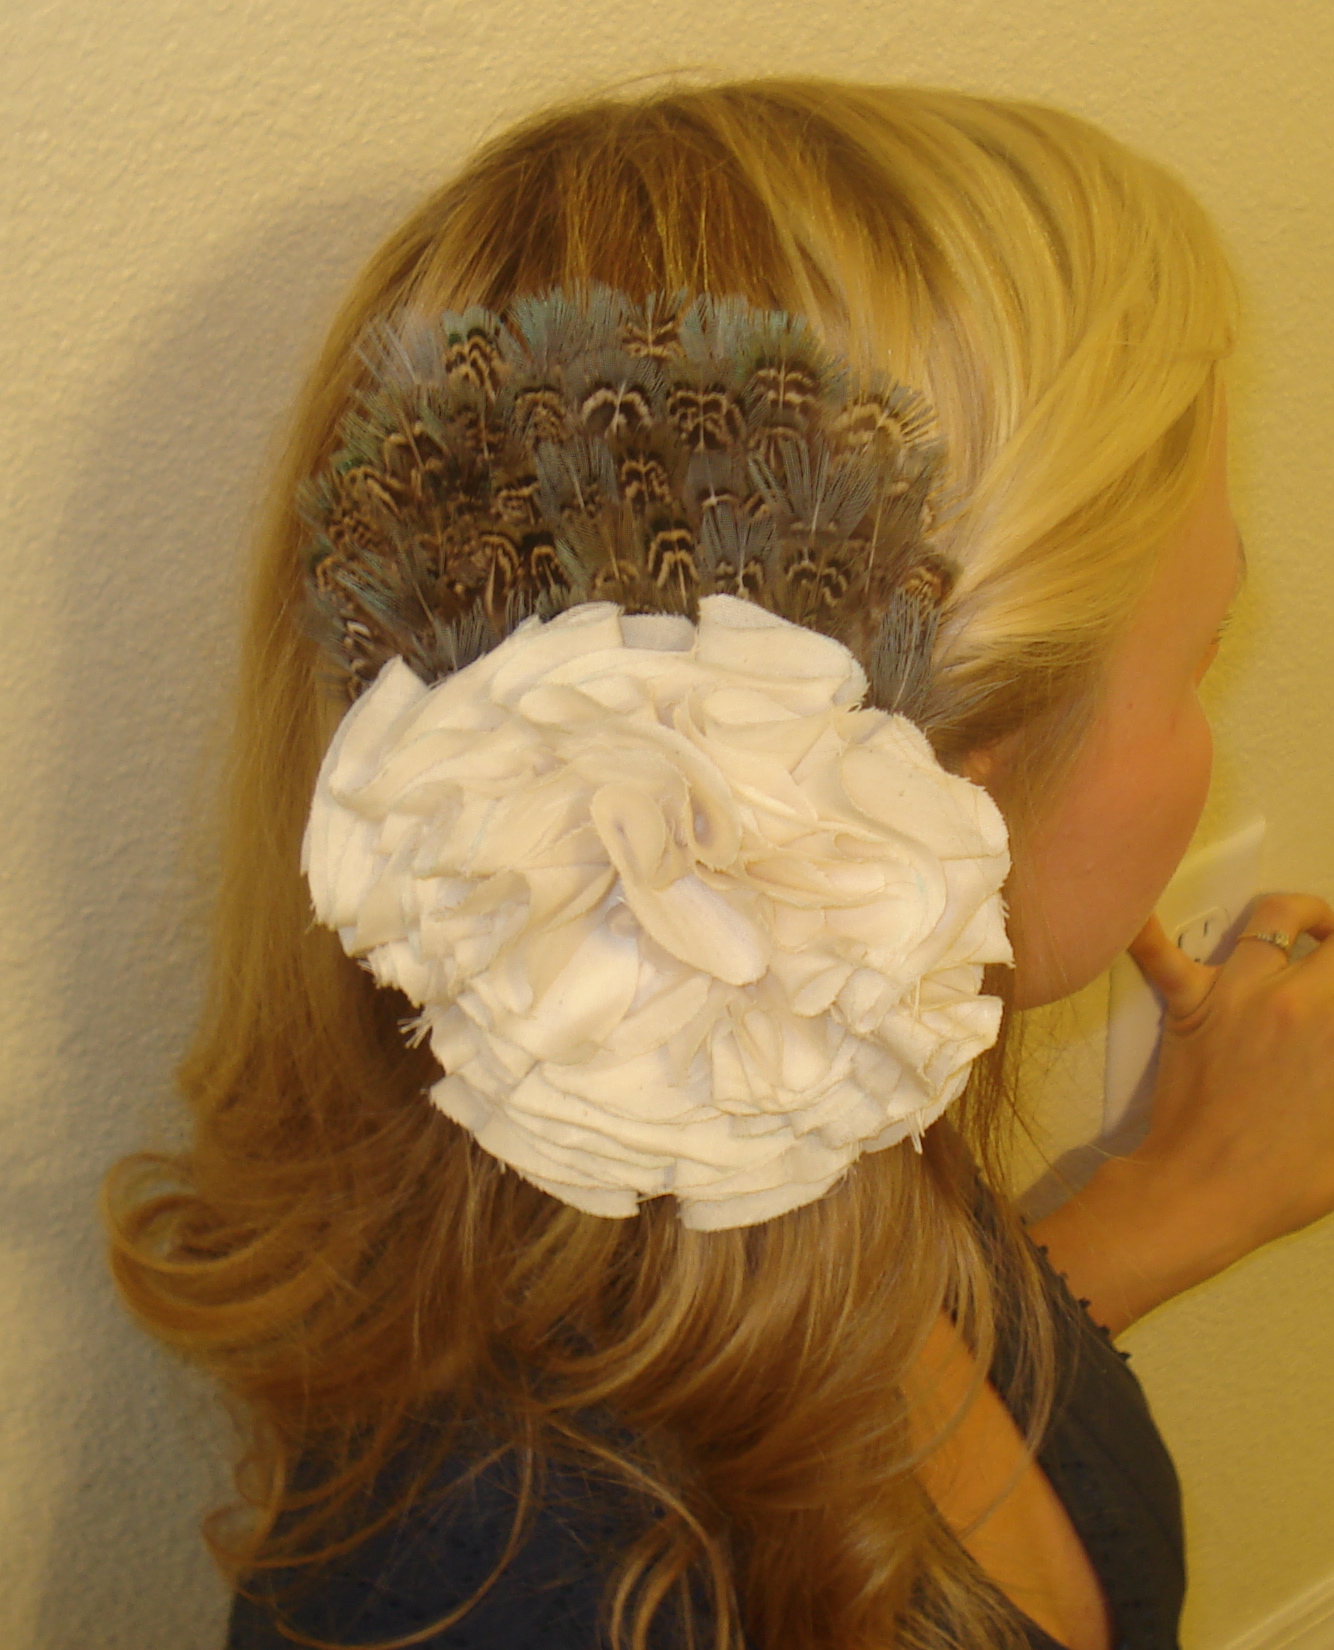
(I’m not groping the electrical socket, I swear.)
I hope you enjoy the DIY flower! I’ve been working on some bride and groom chair covers as well, so keep an eye out for those!
In other news, my dr. dave baked me a cake this weekend to celebrate our one-month pre-anniversary:

Um…how freaking cute is that?!
Much love,
-B