


Explore


-

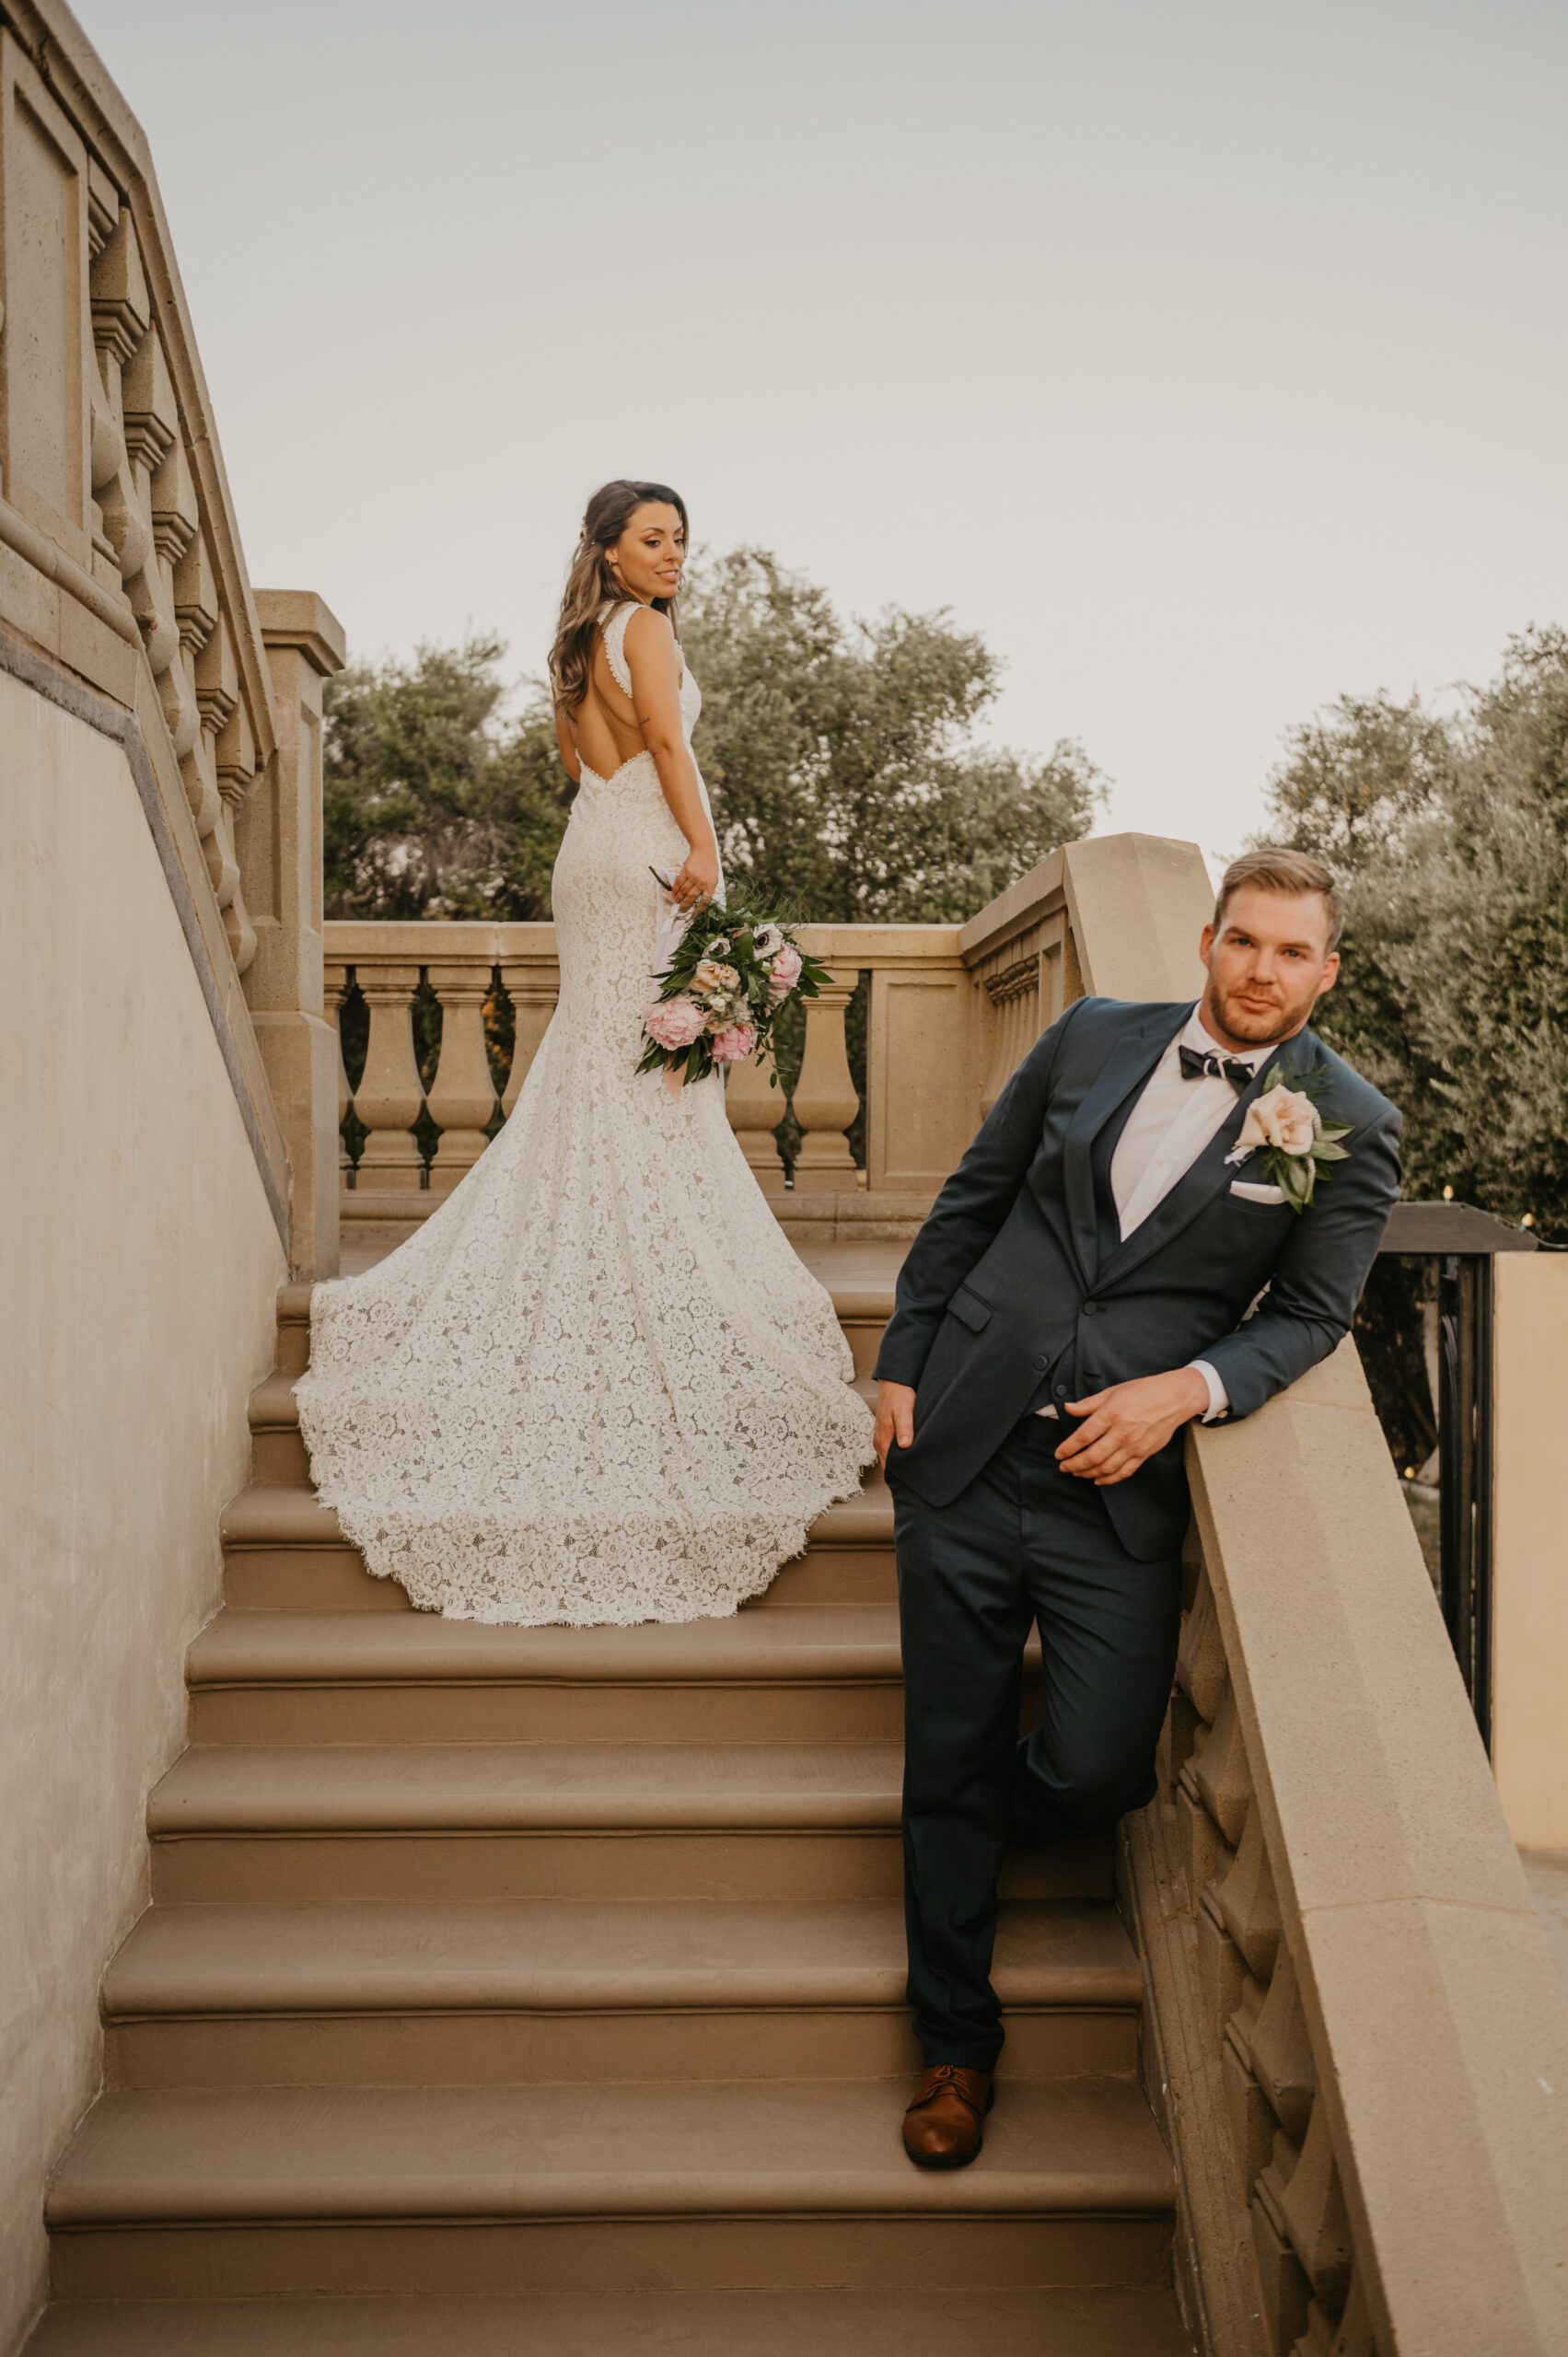
Elegant & Classic Wedding at the Historic Daughters of the American Revolution
-

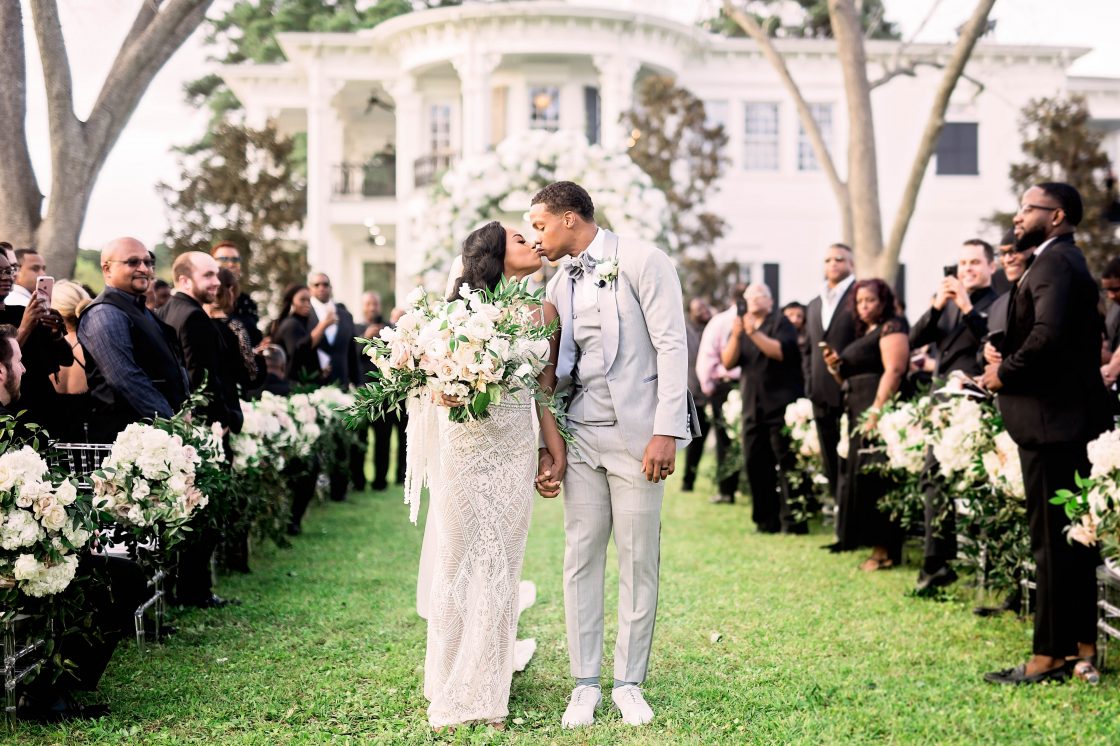
A Love Meant to Be: A Timeless Lush Southern Wedding in Old North Florida
-
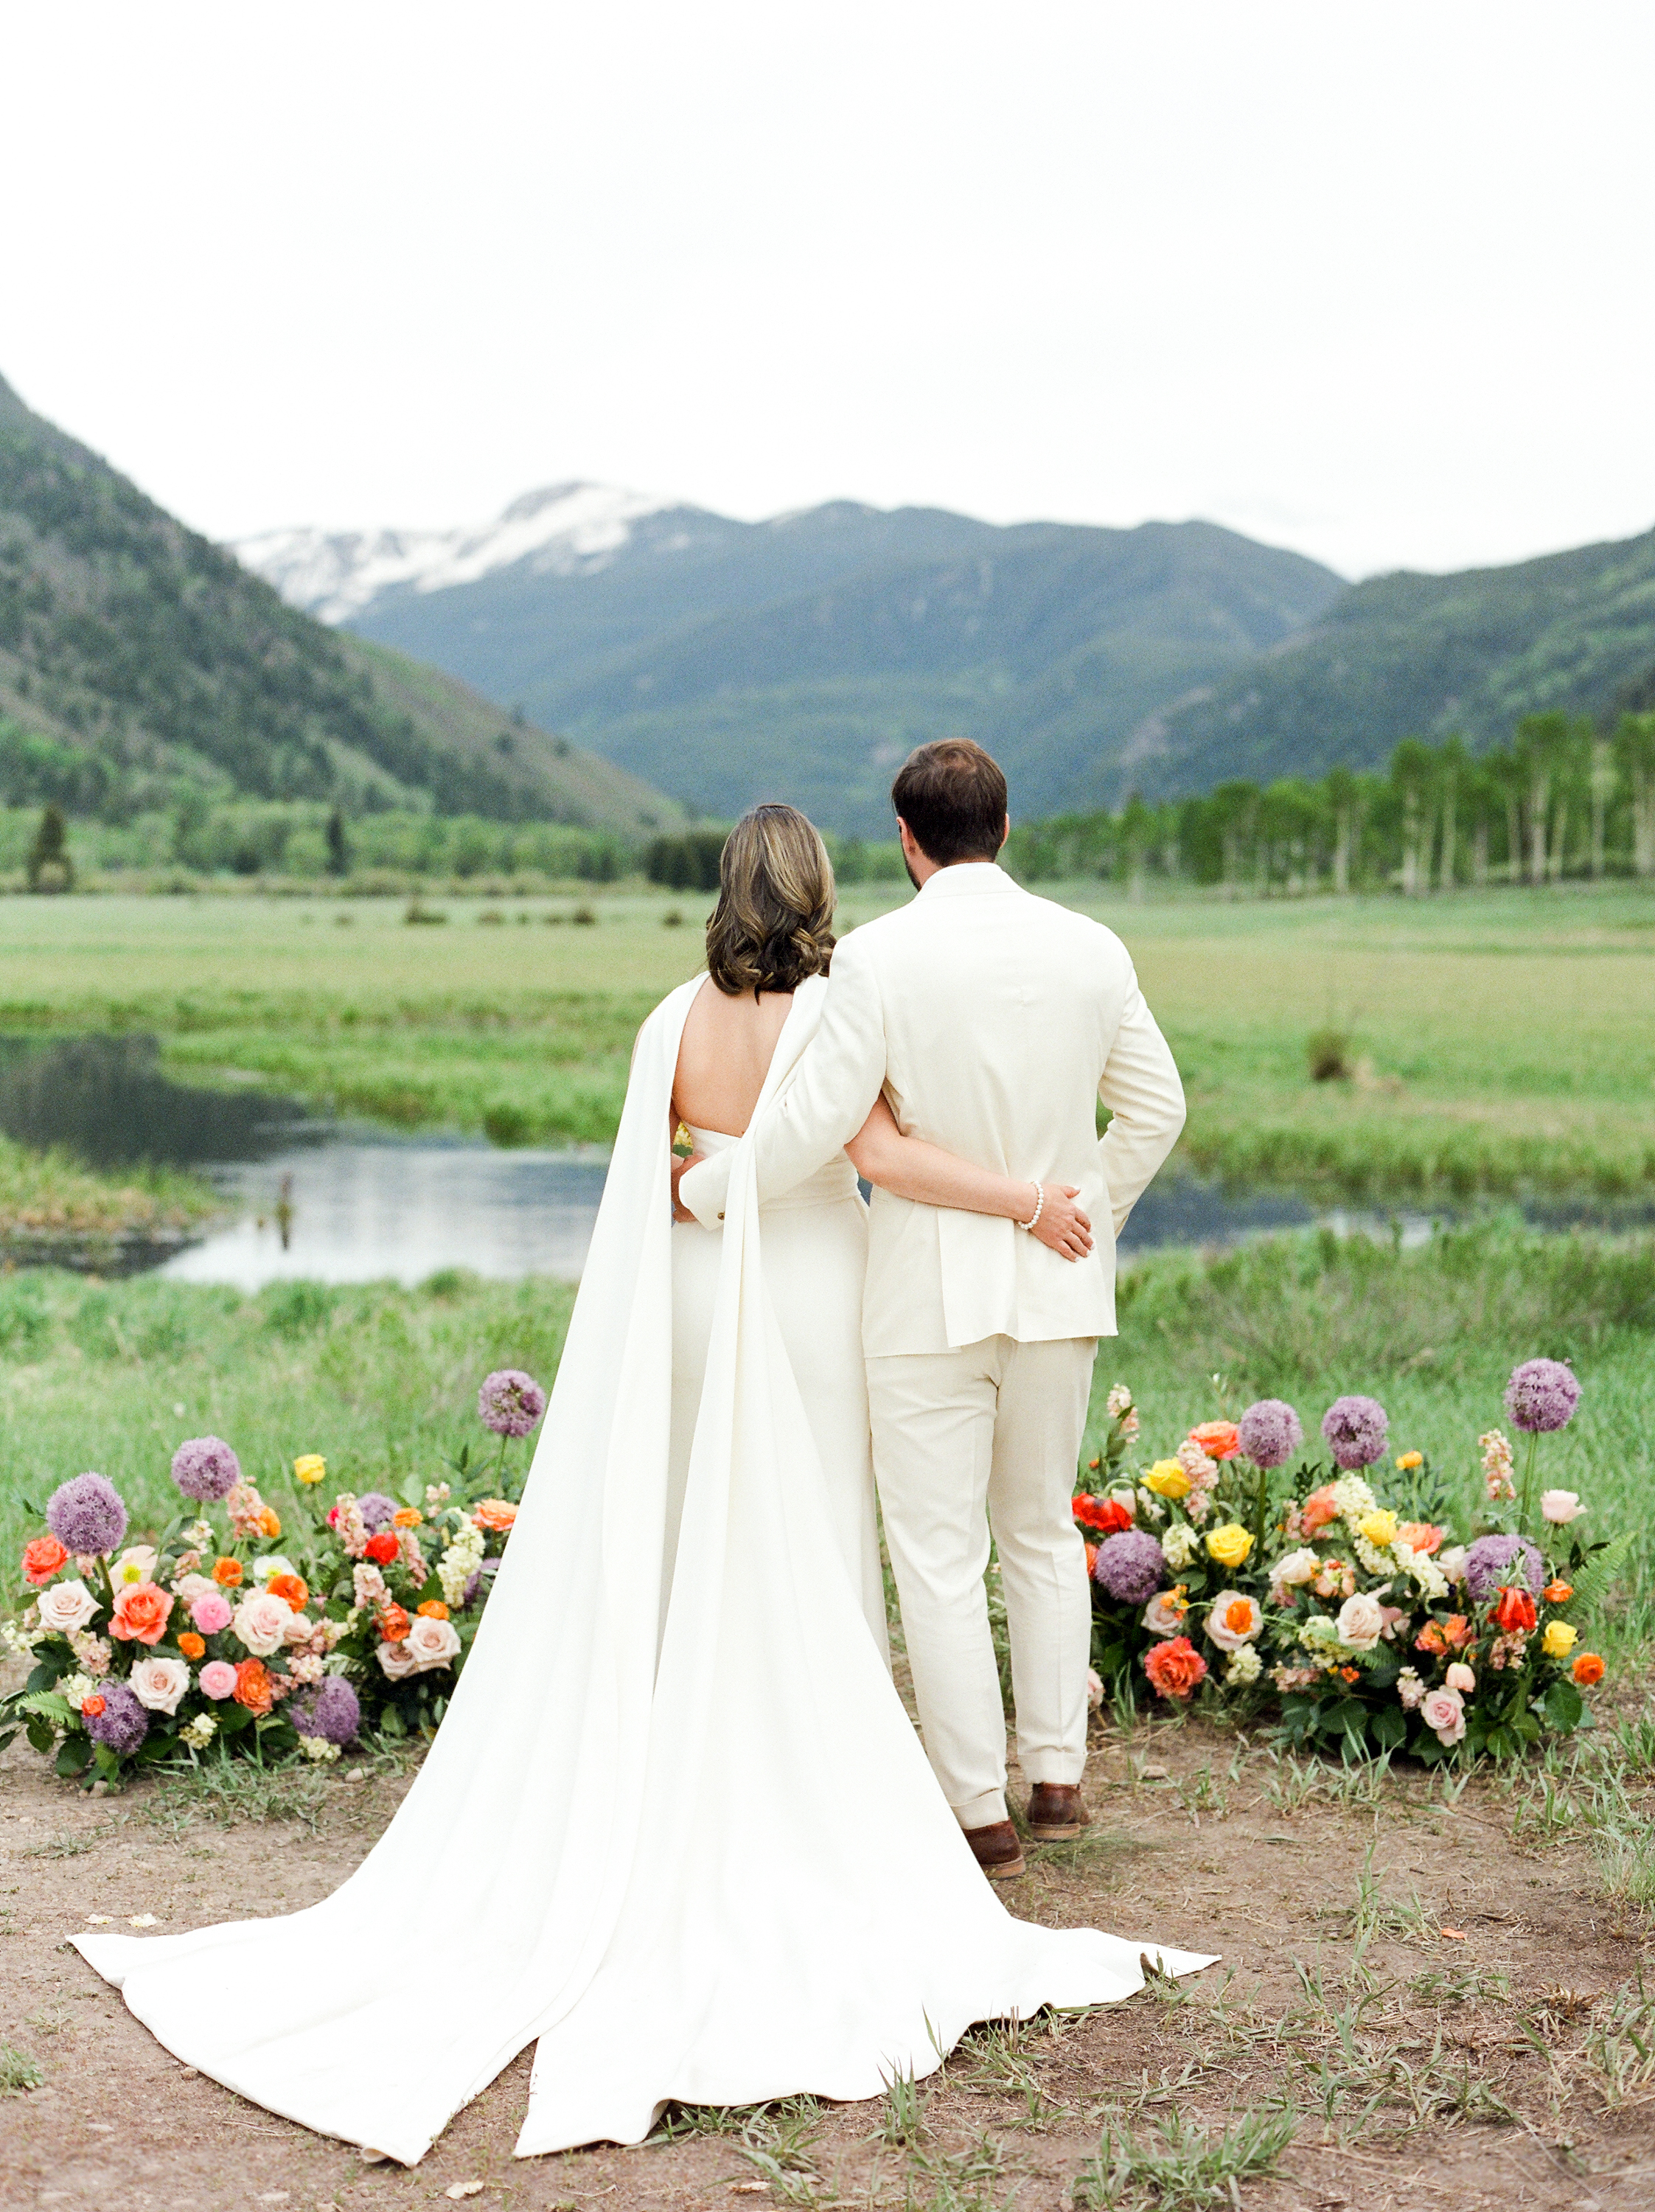
Wildflowers, Mountains, and Love in Full Bloom At Aspen’s Northstar
-

Top 5 Wedding Themes of 2025
-

Mountaintop Stars to Art Deco Dreams: Florida Wedding With a Fantasy of White Flowers
-

Dreamy Elegance Meets Timeless Romance Wedding Inspiration
-

A Tuscan Destination Wedding Dream
-

Dreamy Black Tie and Modern Wedding
-

Tuscan Charm Meets Midwest Magic In This Dreamy Cincinnati Wedding
-
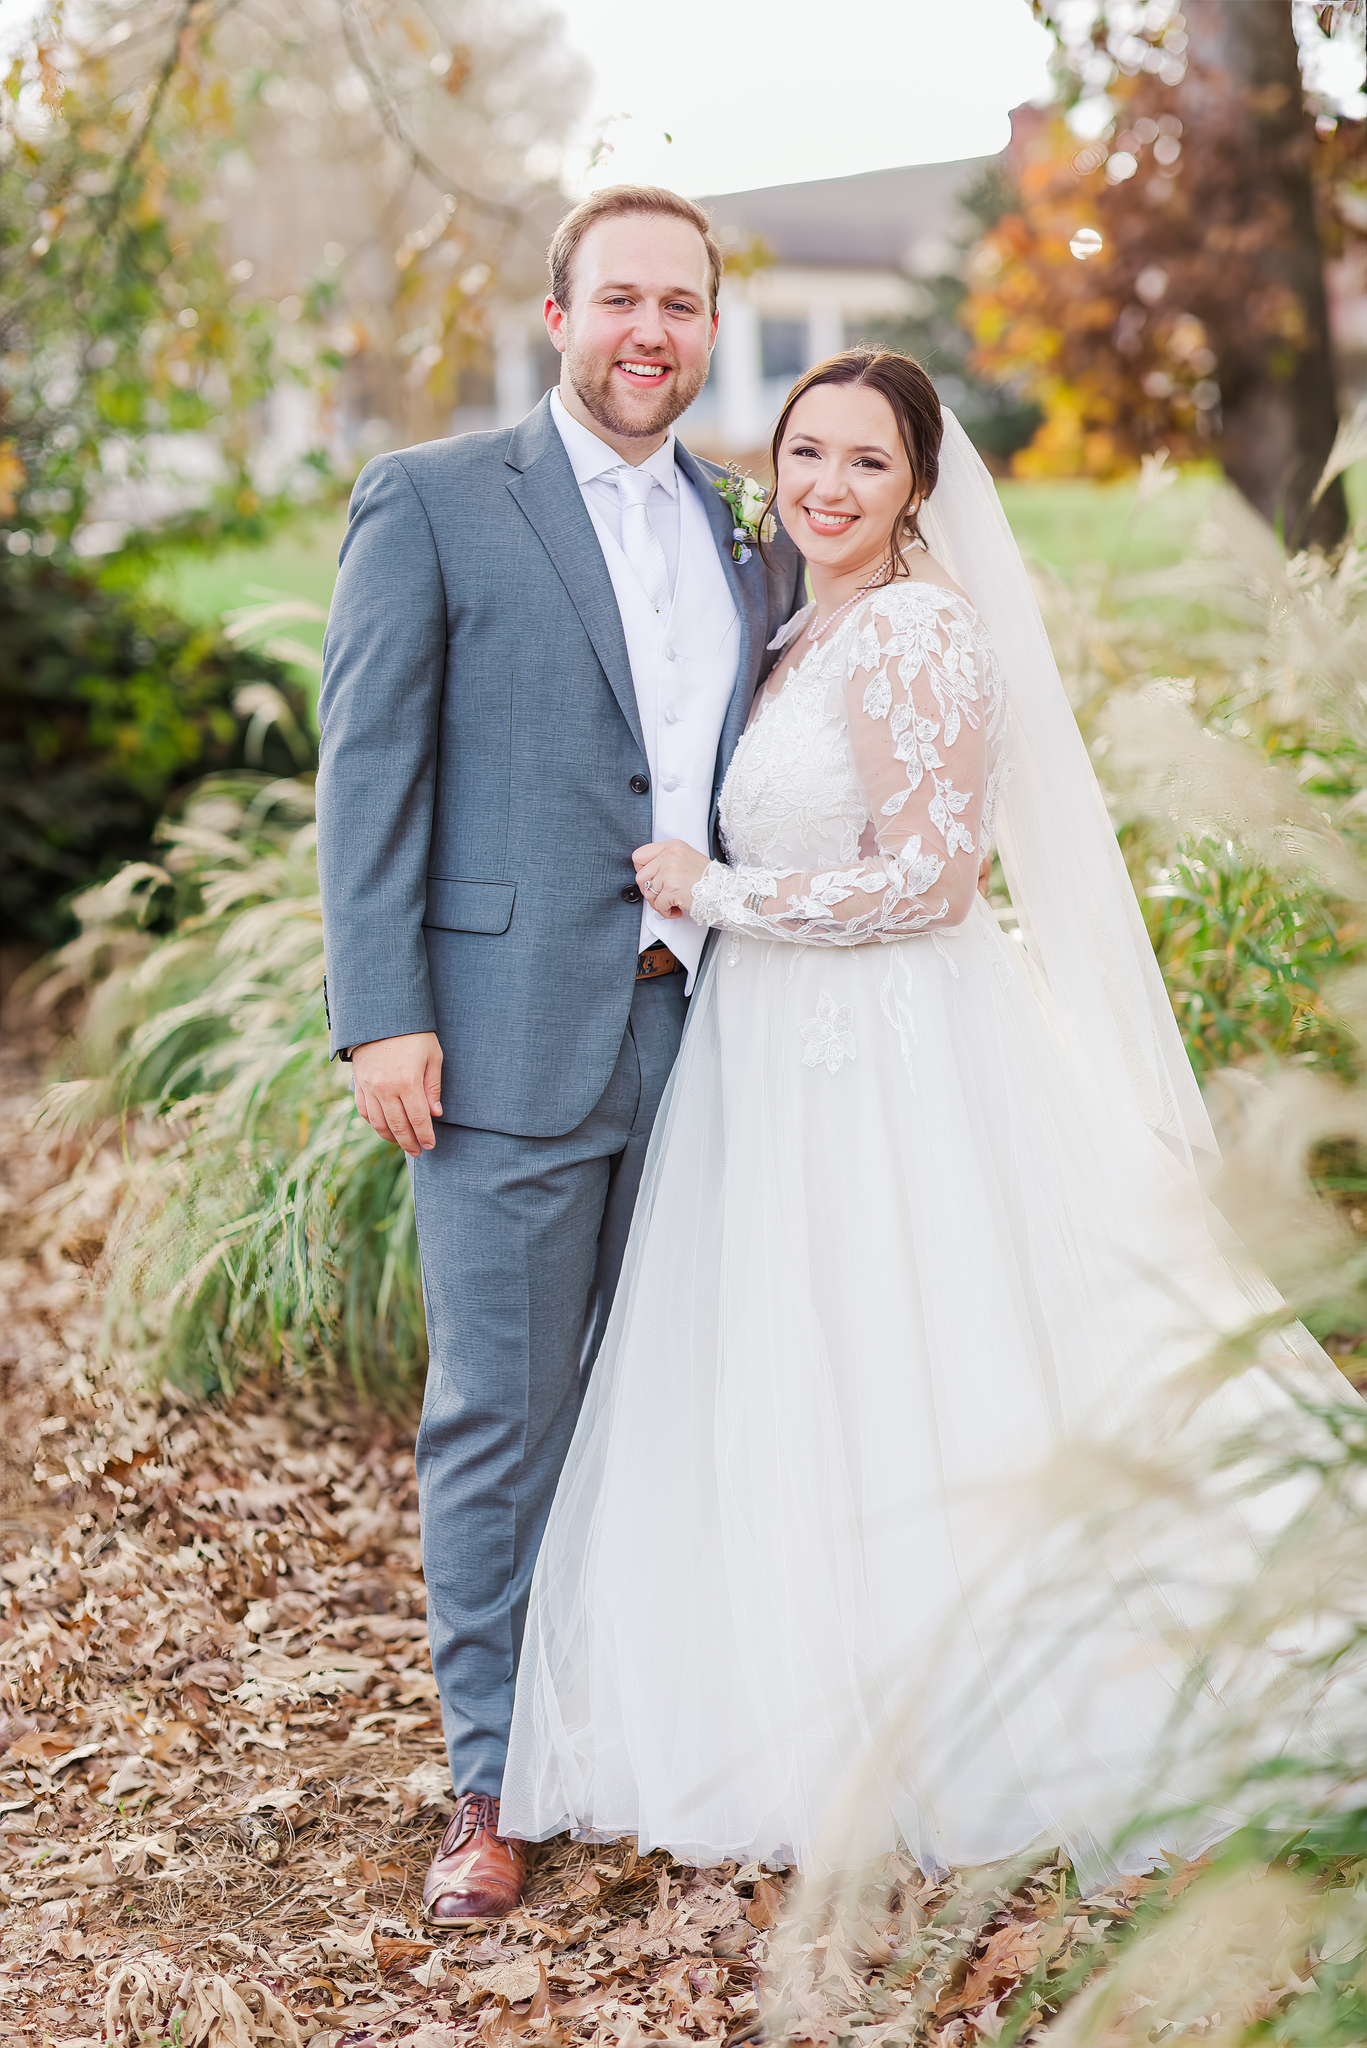
Fall Country Club Wedding With Priceless First Look
-
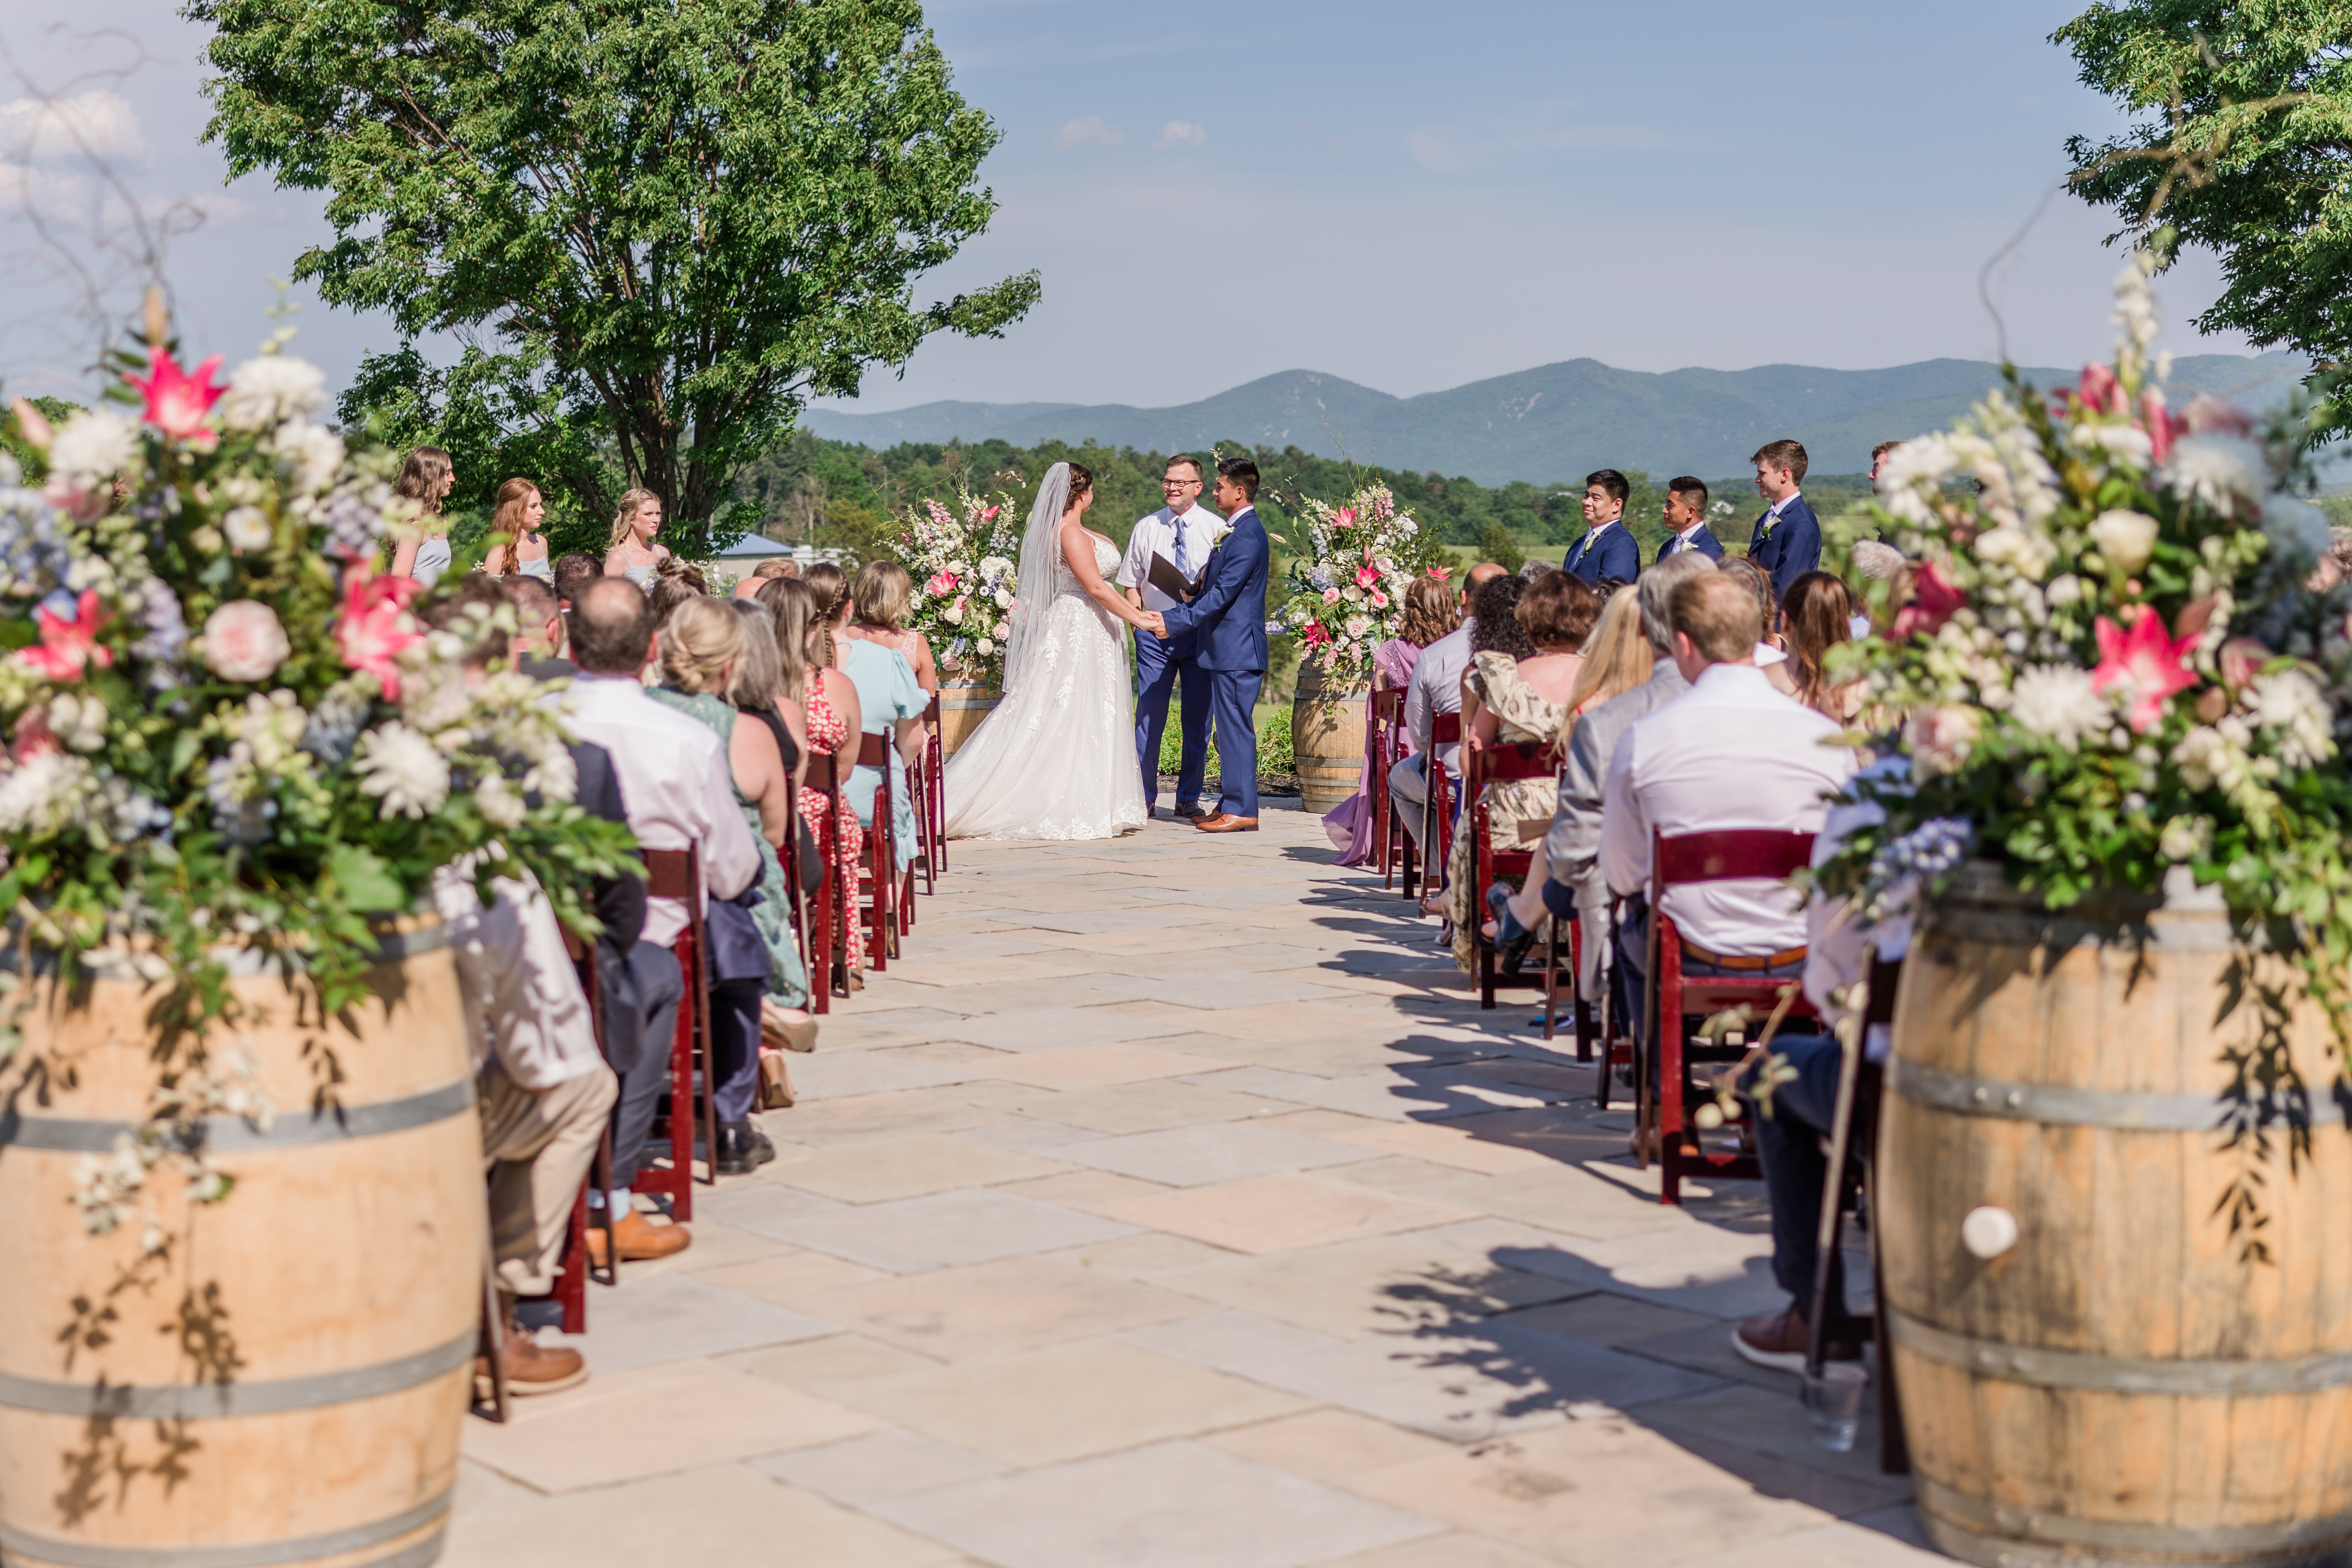
Pink and Navy Romantic Virginia Vineyard Wedding
-
European Romance and Florals: Dolce Villa Estate Styled Elopement