


Loyal reader Stephanie emailed to ask if we had any ideas for gardening-related favors. This was fun to research because I love the idea!
Small potted plants are inexpensive, gorgeous favors that can also double as place cards or escort cards. If you have the time and the talent, why not grow these yourself for the absolute personal touch?
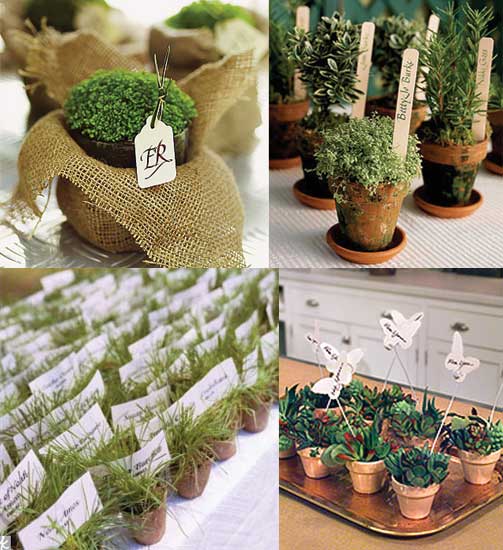
Clockwise from top left: {frolic!}, Brides, Martha Stewart, the Knot
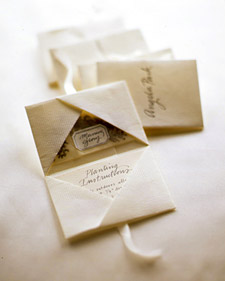
Seed packets are an elegant alternative, especially using Martha’s origami folders.
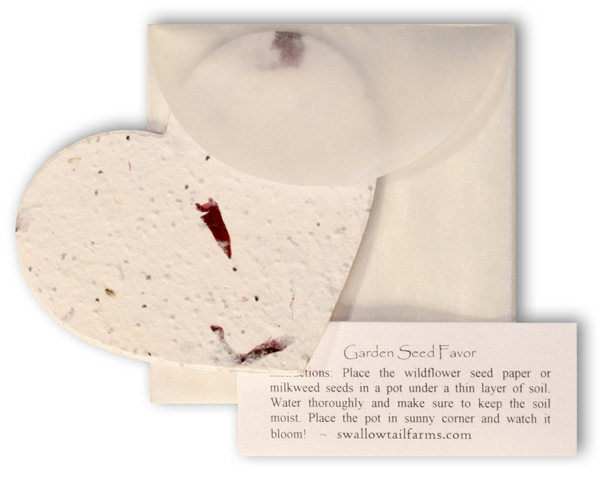
There are many plantable paper favor options – the seeds for wildflowers are embedded in these beautiful hearts.
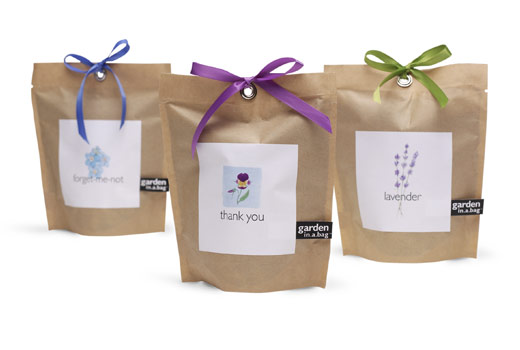
You can also give your guests a literal garden. Add water and they can watch it grow right in the bag!
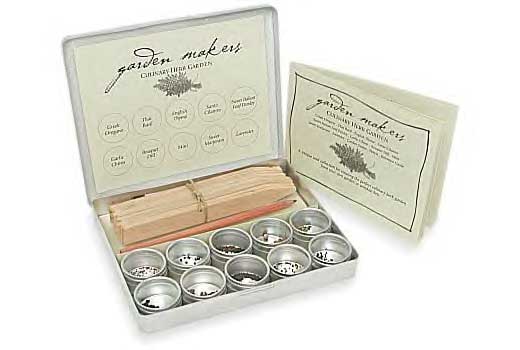
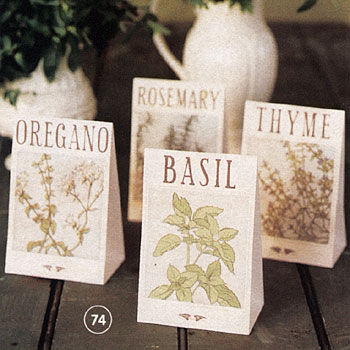
But by far my favorite option is the herb garden – not only pretty but also incredibly useful. If the tin is out of budget, grow your own herbs and package them in simple but gorgeous white bags, as pictured by Artfool.
I hope this gives Stephanie and all of you some ideas for gardening-themed favors!
E.