


Believe it or not, this was our hardest decision to date. We had no trouble choosing our venue, photographer, or caterer, and I fell in love with my dress the moment I saw it. But we went through SEVEN versions of our Save the Date design.
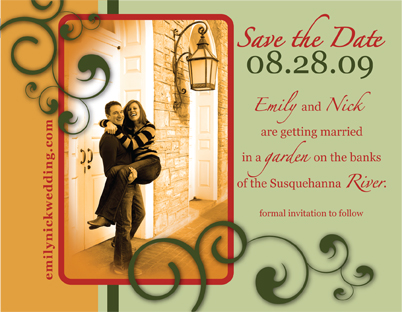
We knew from the beginning that we wanted to make a magnet. We love the thought of having our Save the Date hang on the fridges of family and friends. The hard part was choosing the photo and layout. But isn’t that the beauty of DIY? It may be time consuming, but you can create and recreate until you’re completely happy. We finally got there with this one:
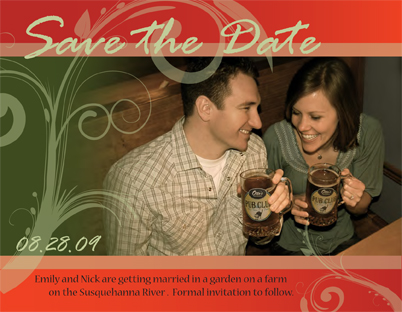
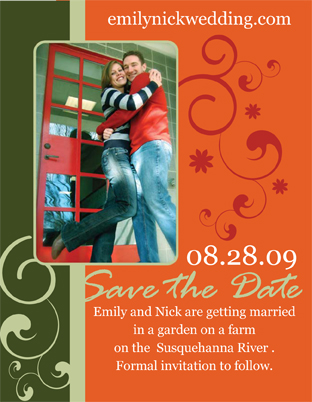
Here are some of the runners up:

And here are the steps we took to complete our first DIY project:
First we asked a friend to take some engagement photos for us. We bounced around downtown State College and Penn State’s campus on a surprisingly sunny and warm day at the end of January. We set up a few fun photo ops at our favorite pub, inside the sundial on the lawn of Old Main, at the top of a parking deck, and in front of the window of a dress shop.
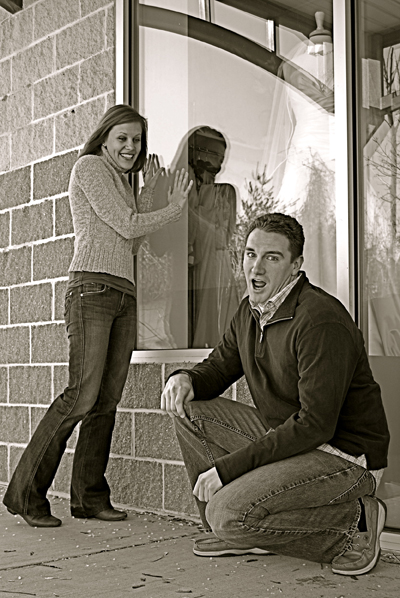
I just have to share the dress shop photo because I think our facial expressions are hysterical. I look giddy, and Nick looks like he just doesn’t get the big deal … even though he totally does! He’s a good actor.
We came back with over 400 photos to choose from!
Then it was time to choose our printer. We looked into several options (MagnetStreet, Zazzle), but we were most impressed with the full customization capabilities of VistaPrint — not to mention the price! In terms of magnet design, it’s important to choose your printer first because each offers different sizes and requires different formats. And make sure to check the full bleed size to eliminate a white edge (unless, of course, that’s what you’re going for).
Next we worked on design concepts in Adobe Illustrator. They all included similar colors, brushes, and fonts.
When we got the look we wanted, we uploaded the PDF to VistaPrint and anxiously awaited the arrival of our magnets. Unfortunately, when they arrived, I noticed a faint line through the right side of every magnet. I called the VistaPrint and was extremely impressed with their customer service. They sent 100 more magnets at no additional charge … and this time they were perfect! Keep this in mind, ladies — speak up if you’re not 100% satisfied!
Nick found beautiful thick red envelopes from Envelopemall and the classic “wedding hearts” stamp from USPS (bonus that the green of the stamp matches the green of our magnet).
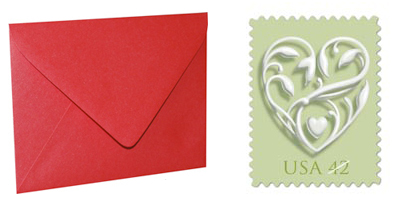
{credit Envelopemall and USPS)
Finally I hand addressed the envelopes, and Nick stuffed and sealed them. We make a pretty good team! Good thing because I have many more DIY projects in the pipeline. (Sorry I don’t have a photo of the finished product. I promise to better document things in the future!)
Here’s a breakdown of the costs:
$120.68 for 100 large magnets
$26.54 for 100 envelopes
$43.00 for 100 stamps
Which comes out to just $1.90 per Save the Date. Did you create your own Save the Dates?